New article
Recently updated
Creating a forward trajectory

Who is this article for?
Users working with trajectories.
No special access or permissions are required.
This article walks you through creating and configuring forward trajectories.
Creating a forward trajectory
To create a forward trajectory:
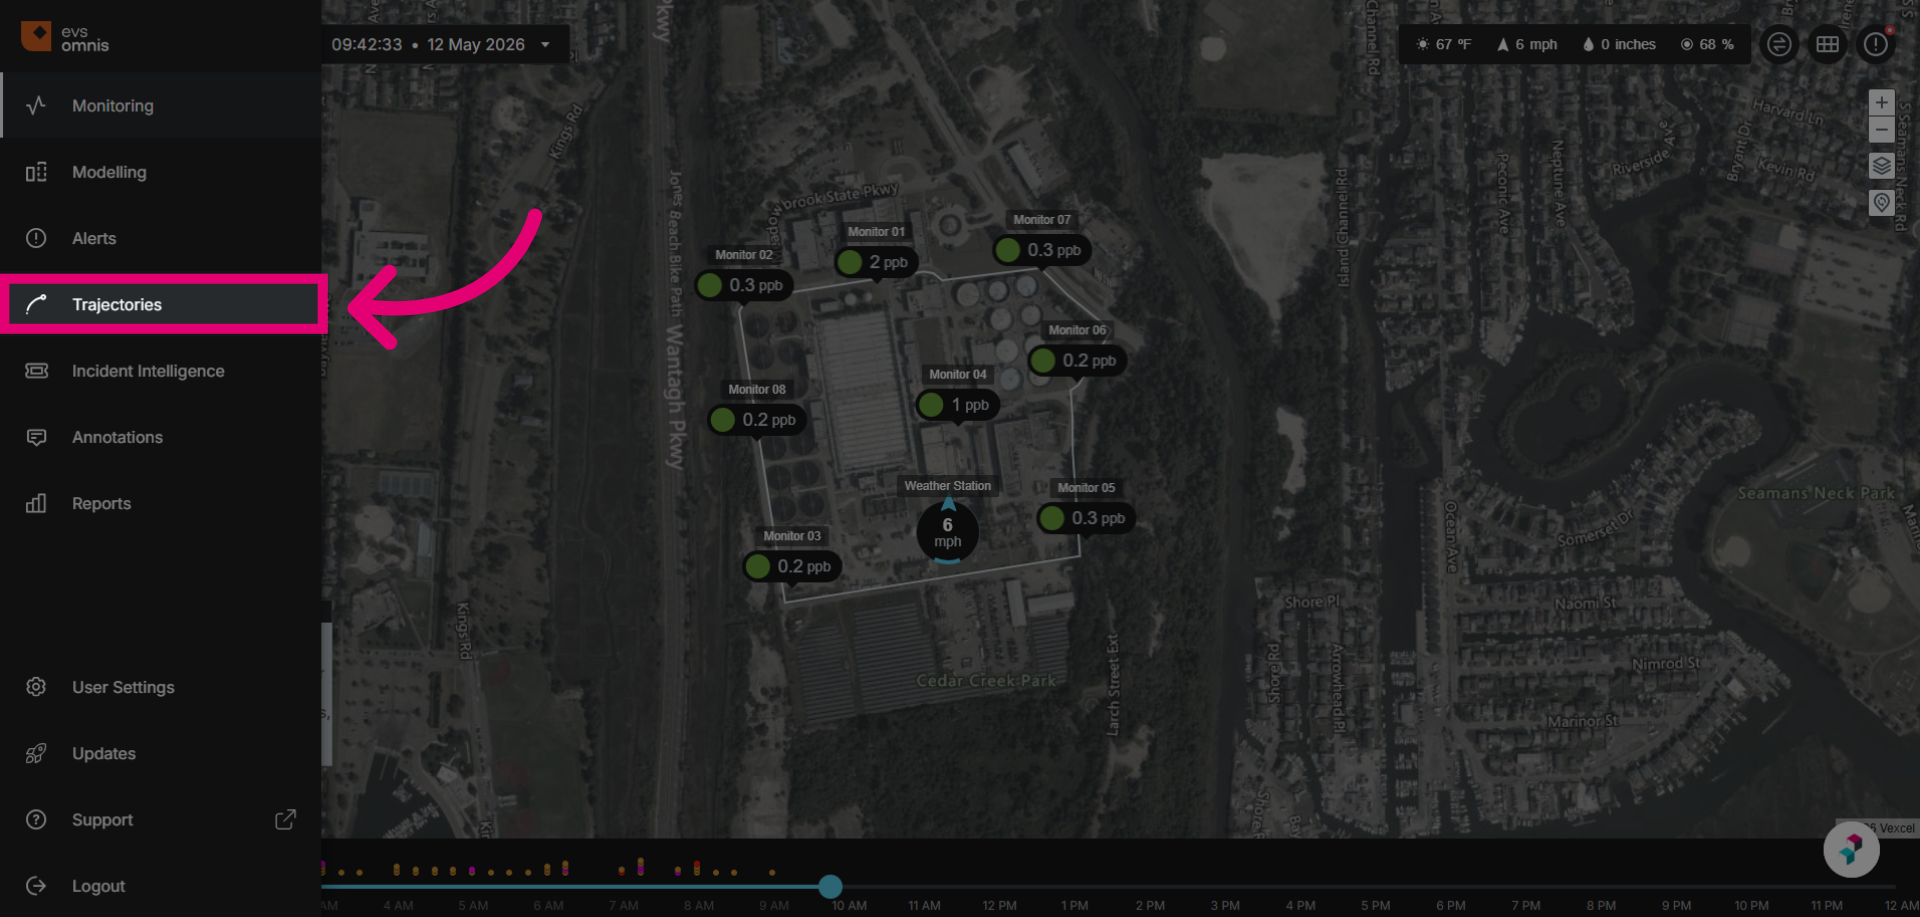
- Go to the Trajectories module.
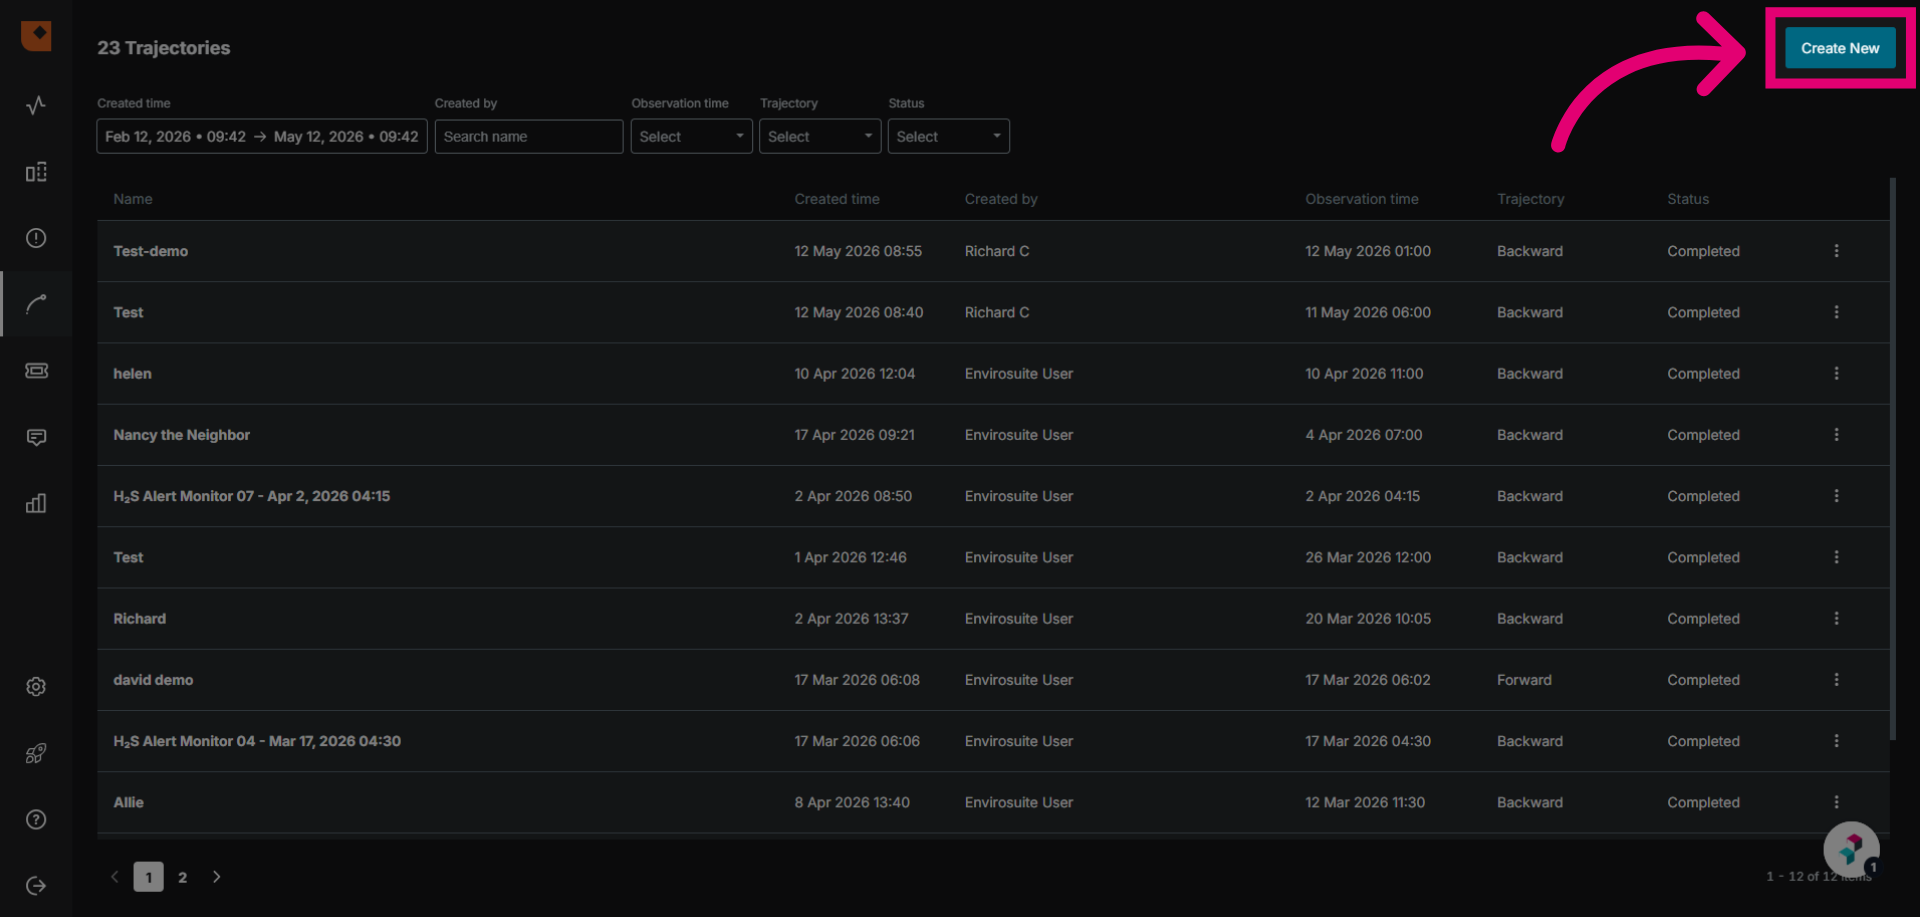
- Click Create New.
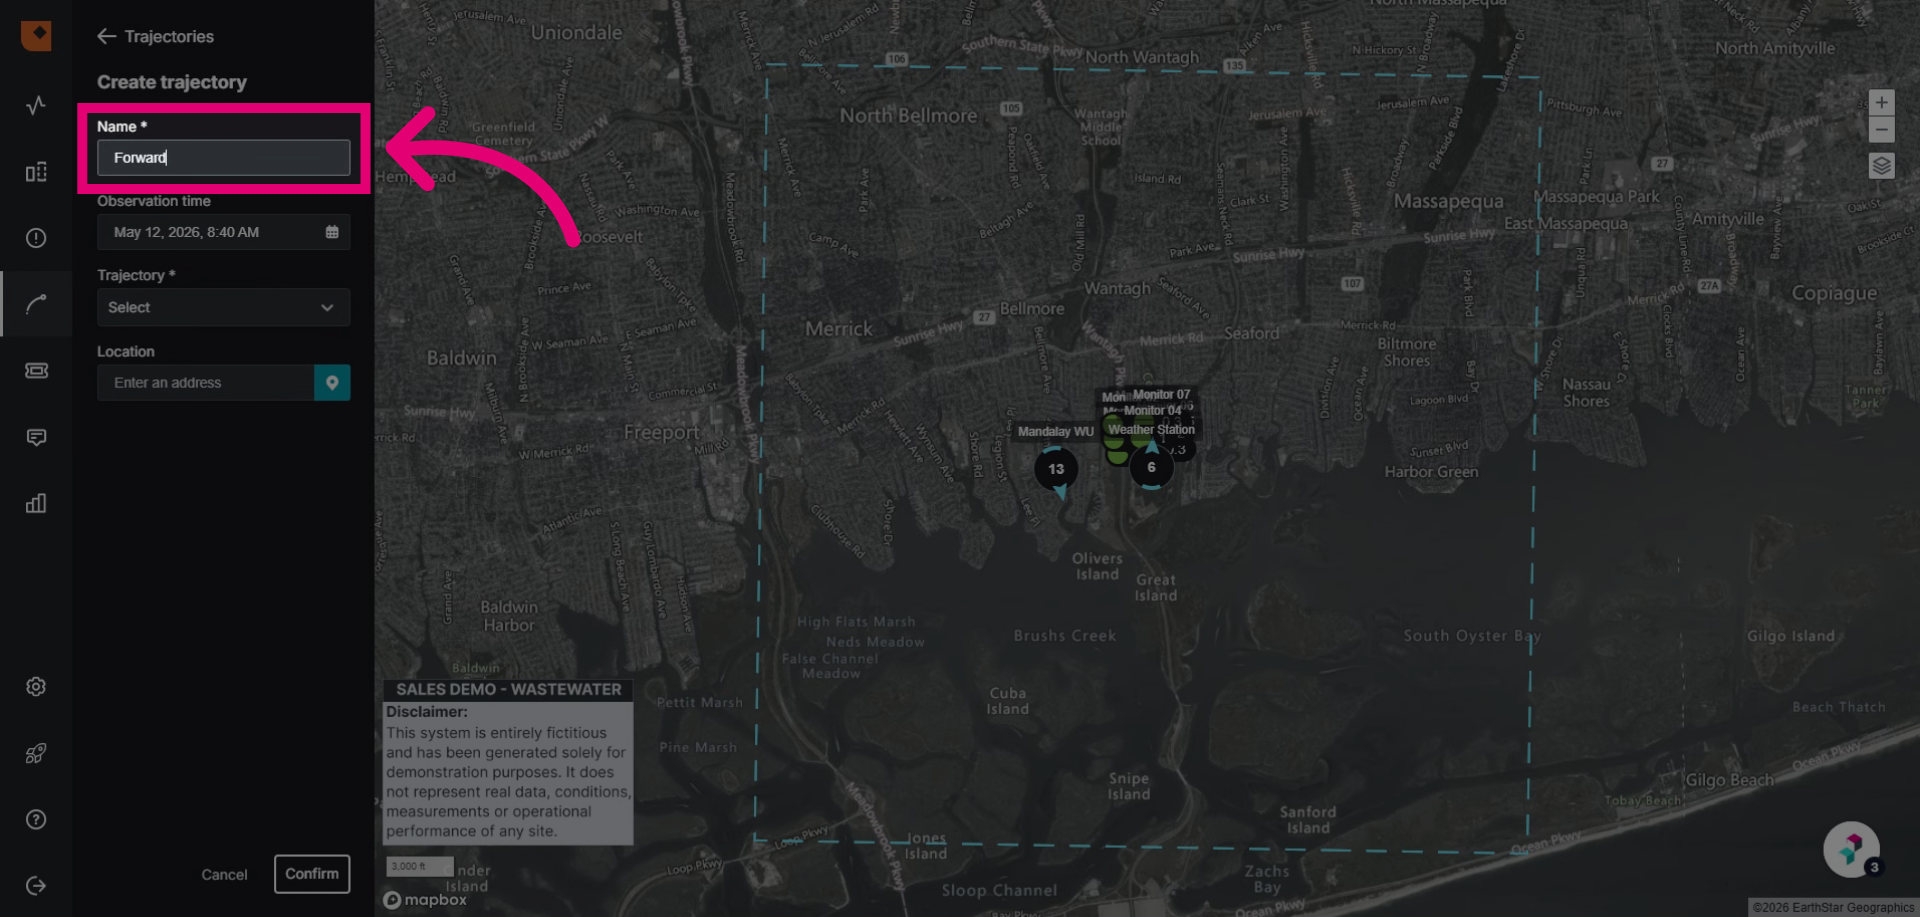
- Enter a Name for the trajectory.
- Click the Calendar icon to open the date picker.
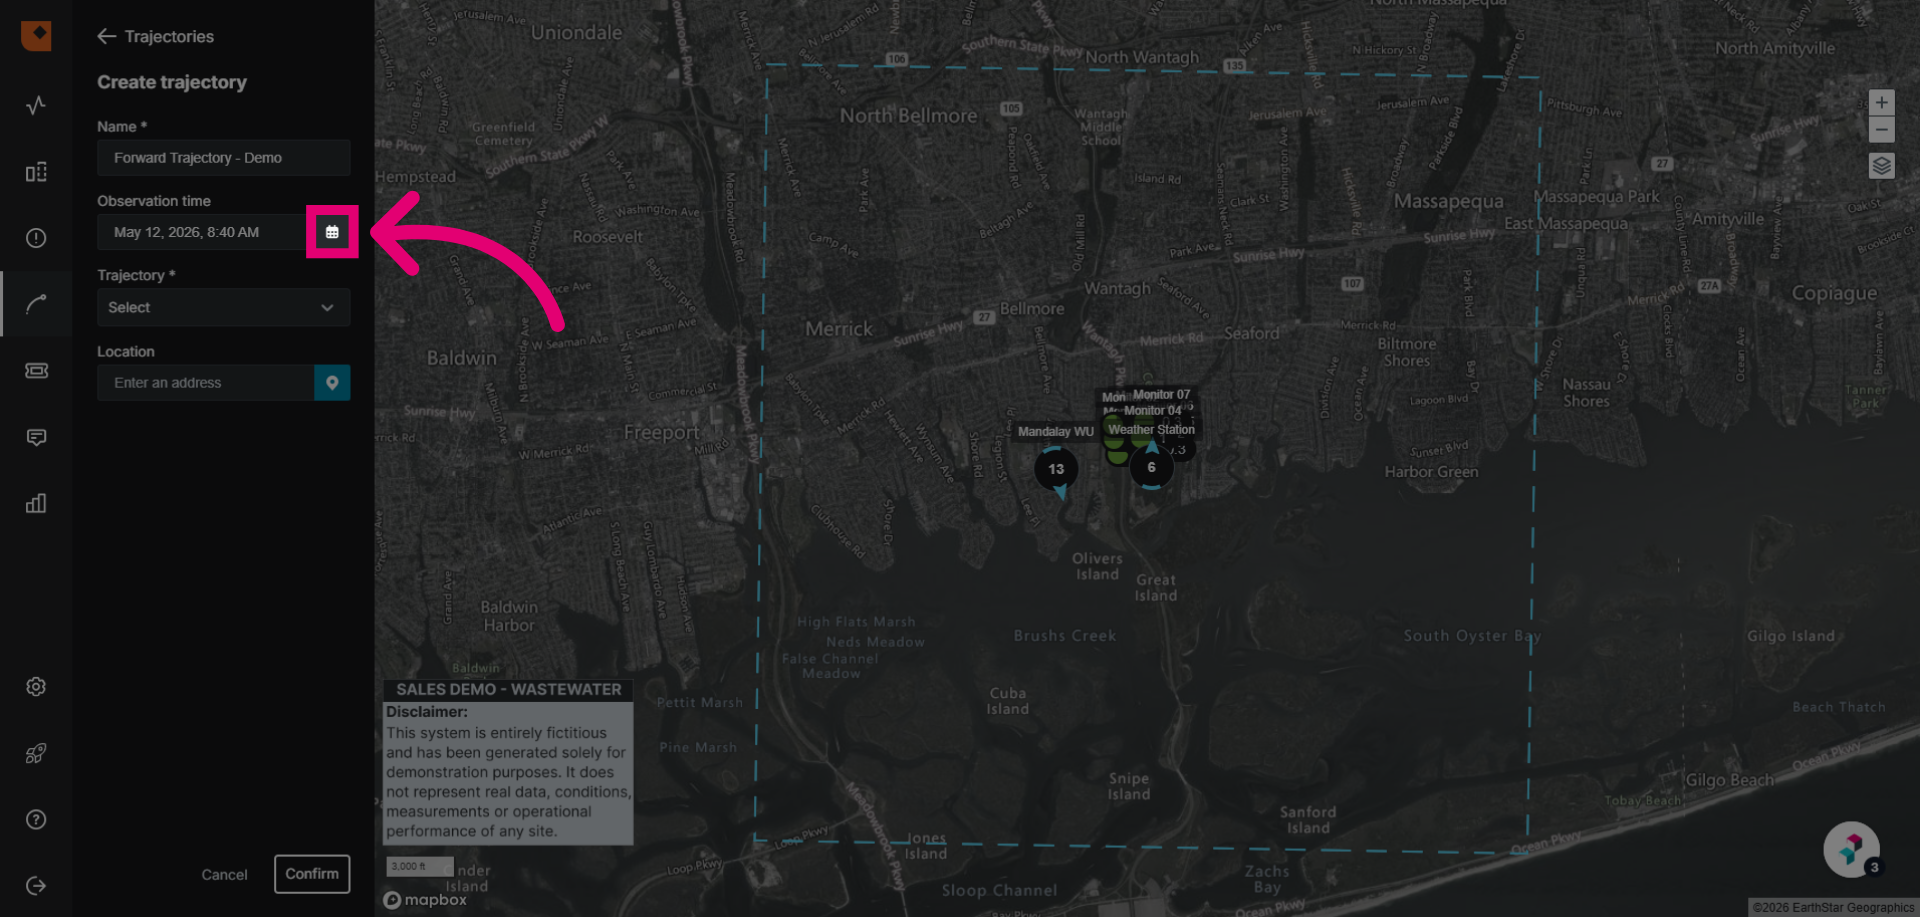
- Select the Date and time of the desired analysis period.
Since we plan on creating a forward trajectory, we can select a period in the future for this analysis. The forward trajectory uses forecasted weather data to run the model.
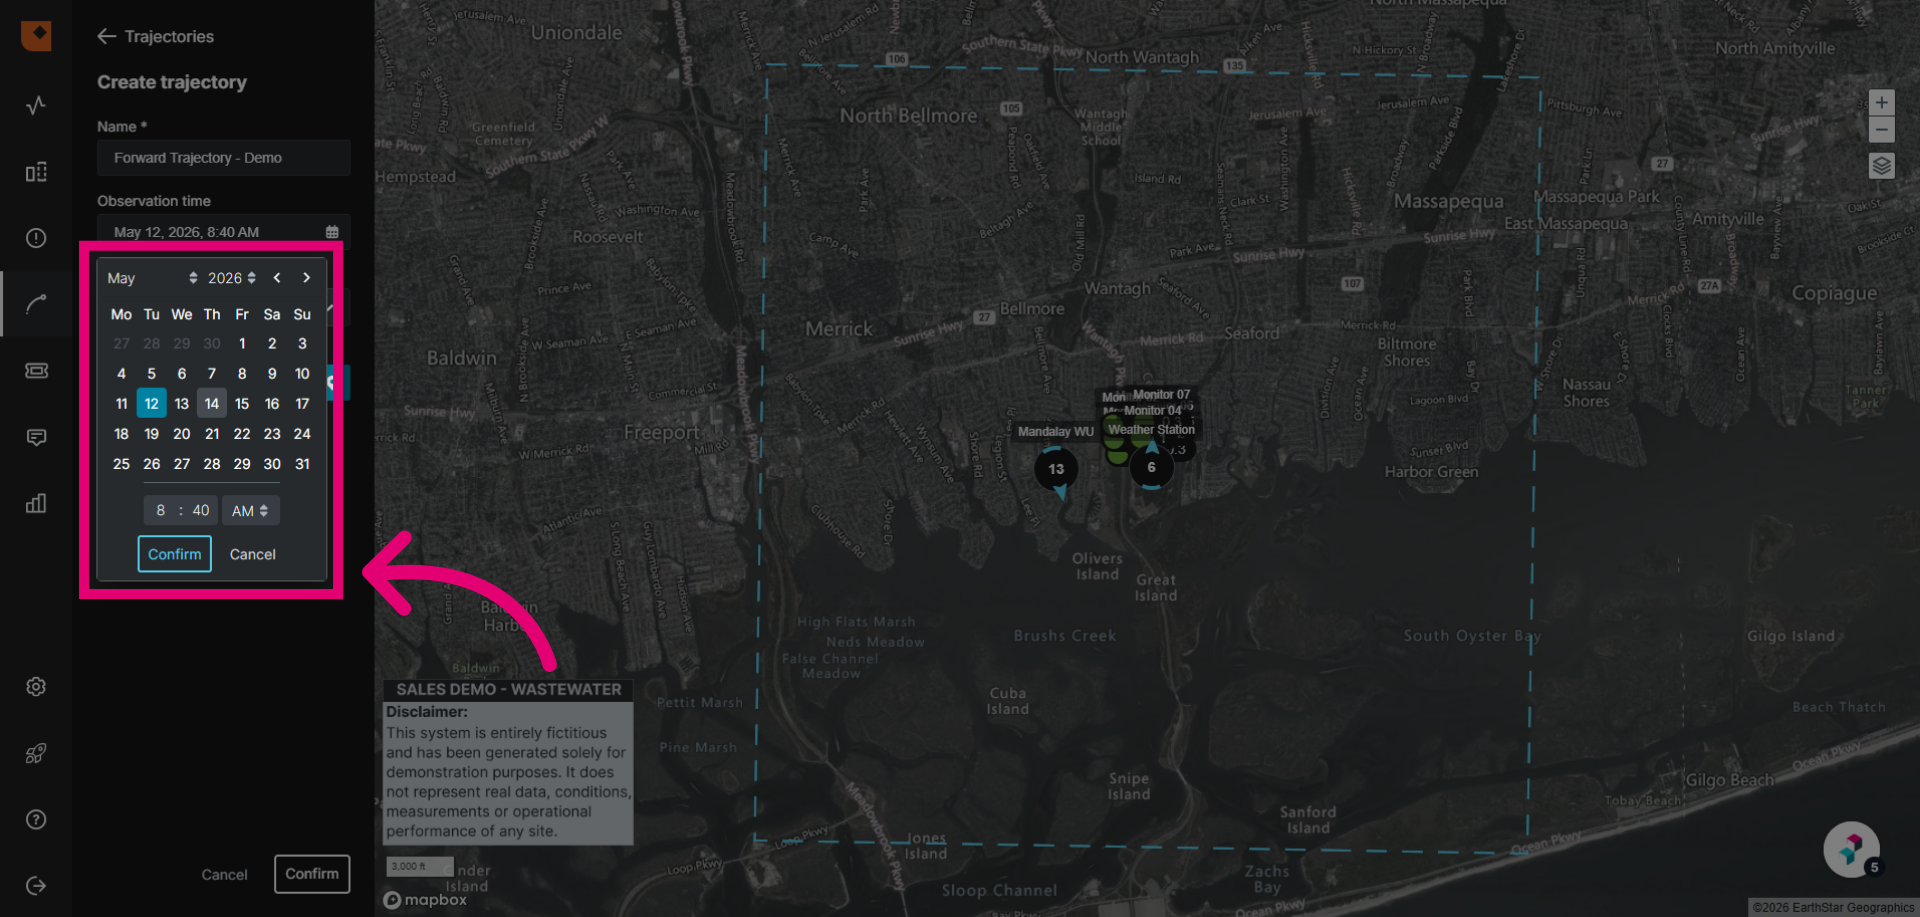
- Click Confirm to save the date and time selection.
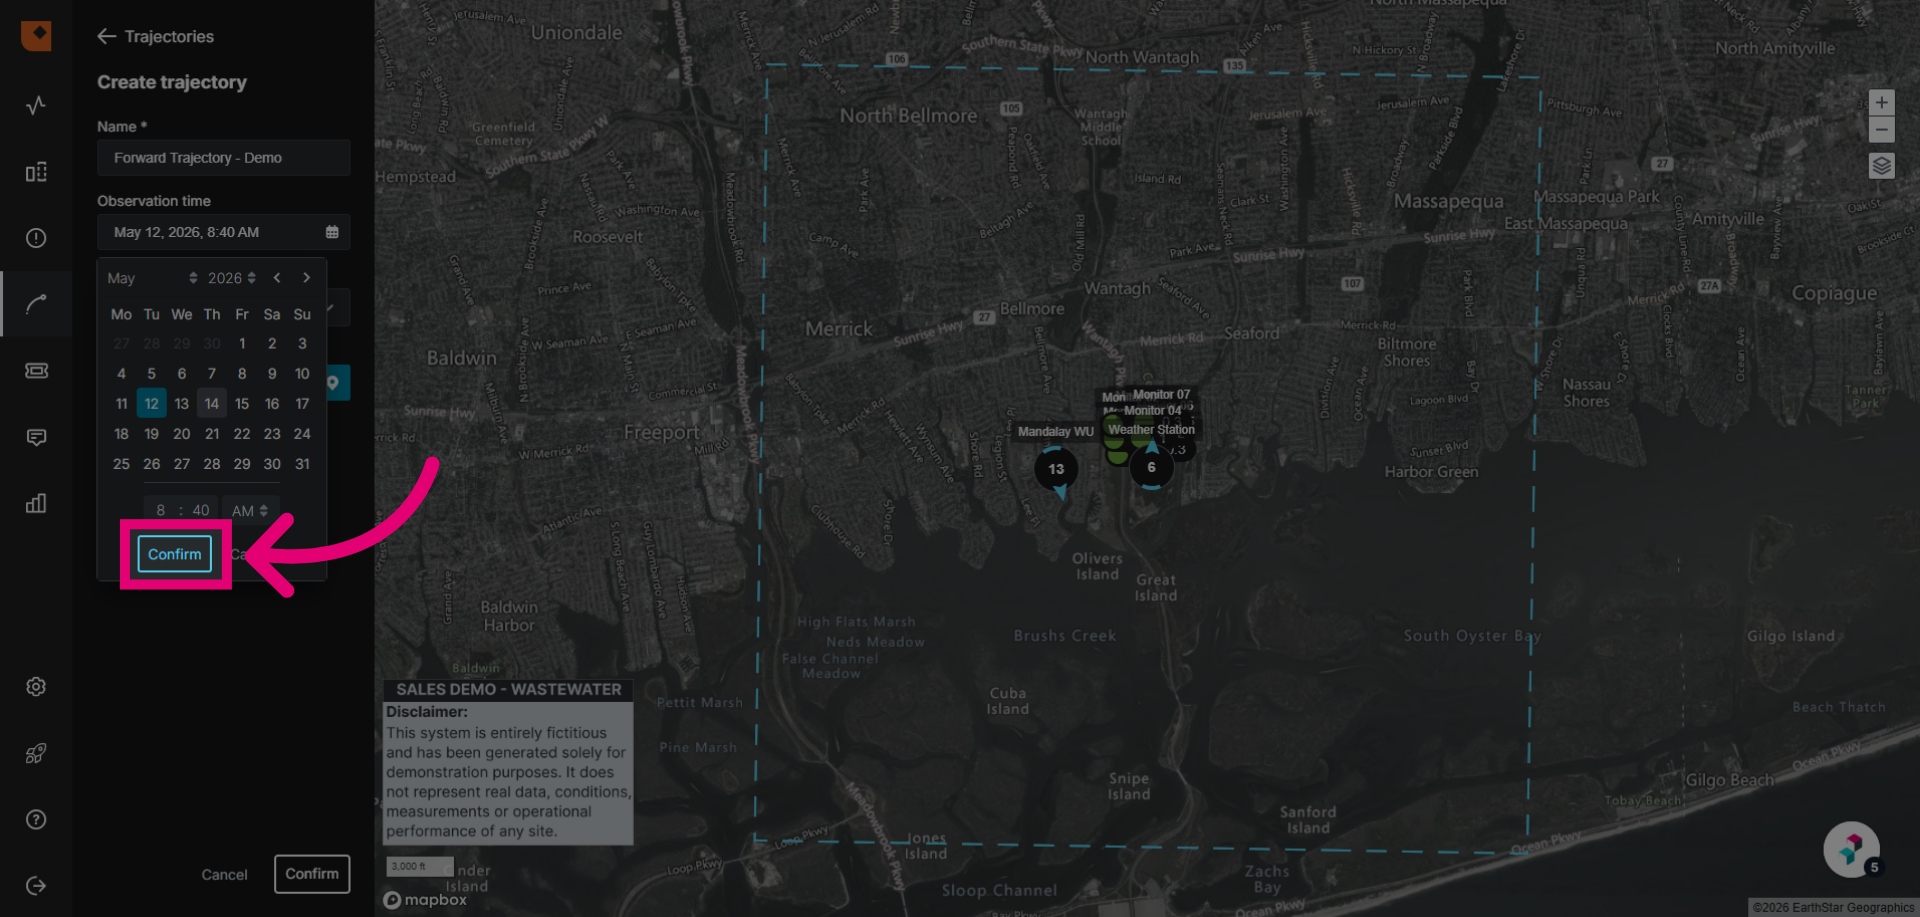
- Select Forward trajectory from the Trajectory dropdown.
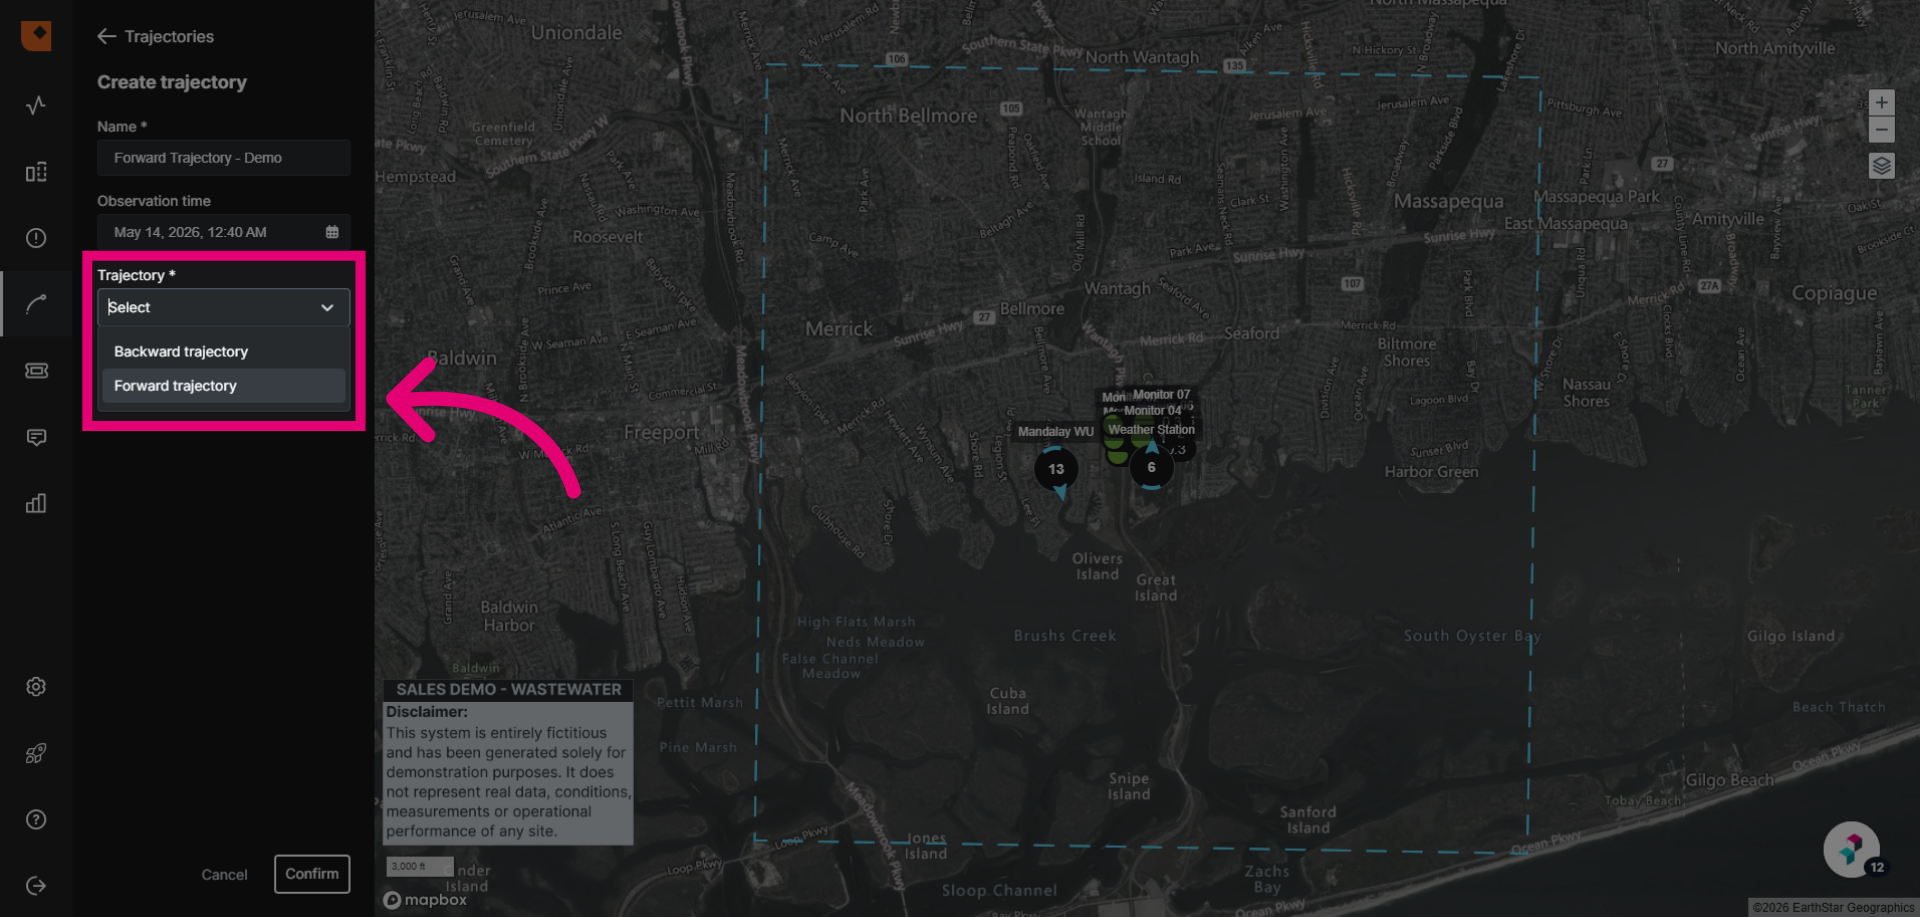
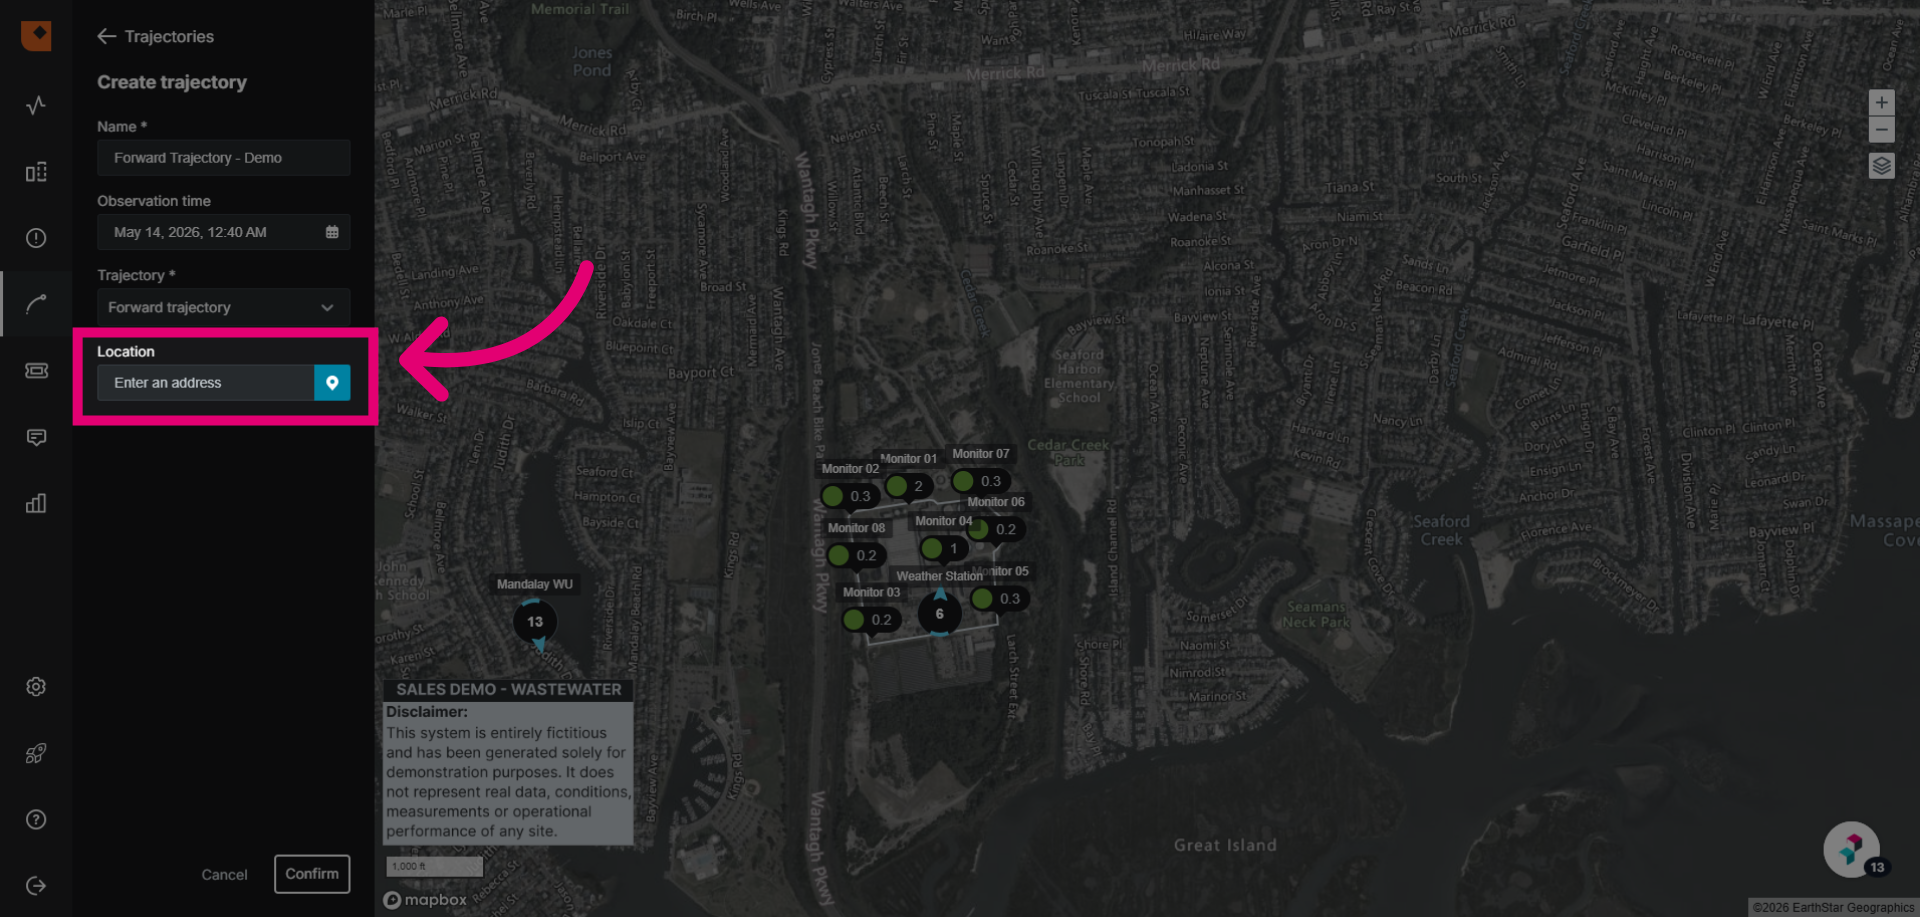
- Set the Location of the start of the forward trajectory.
Use the address lookup feature if the address is known. Alternatively, click the pin icon to drop a pin on the map for the location.
- Click Confirm to finalise the configuration.
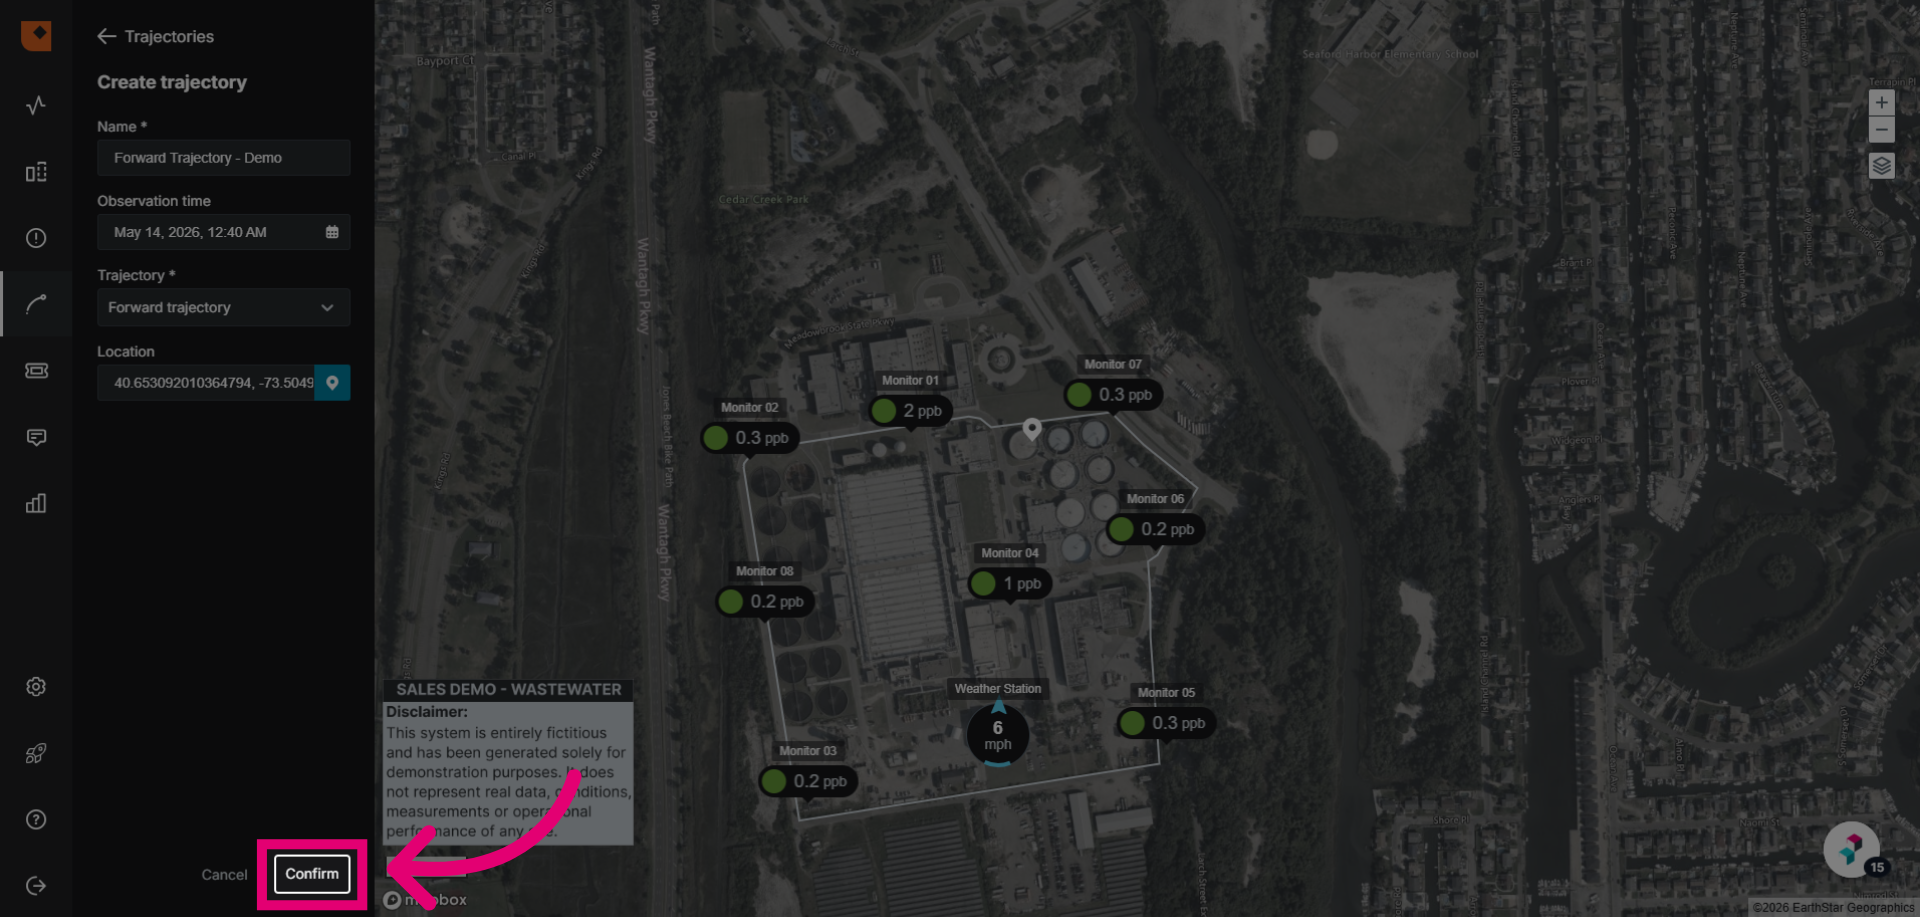
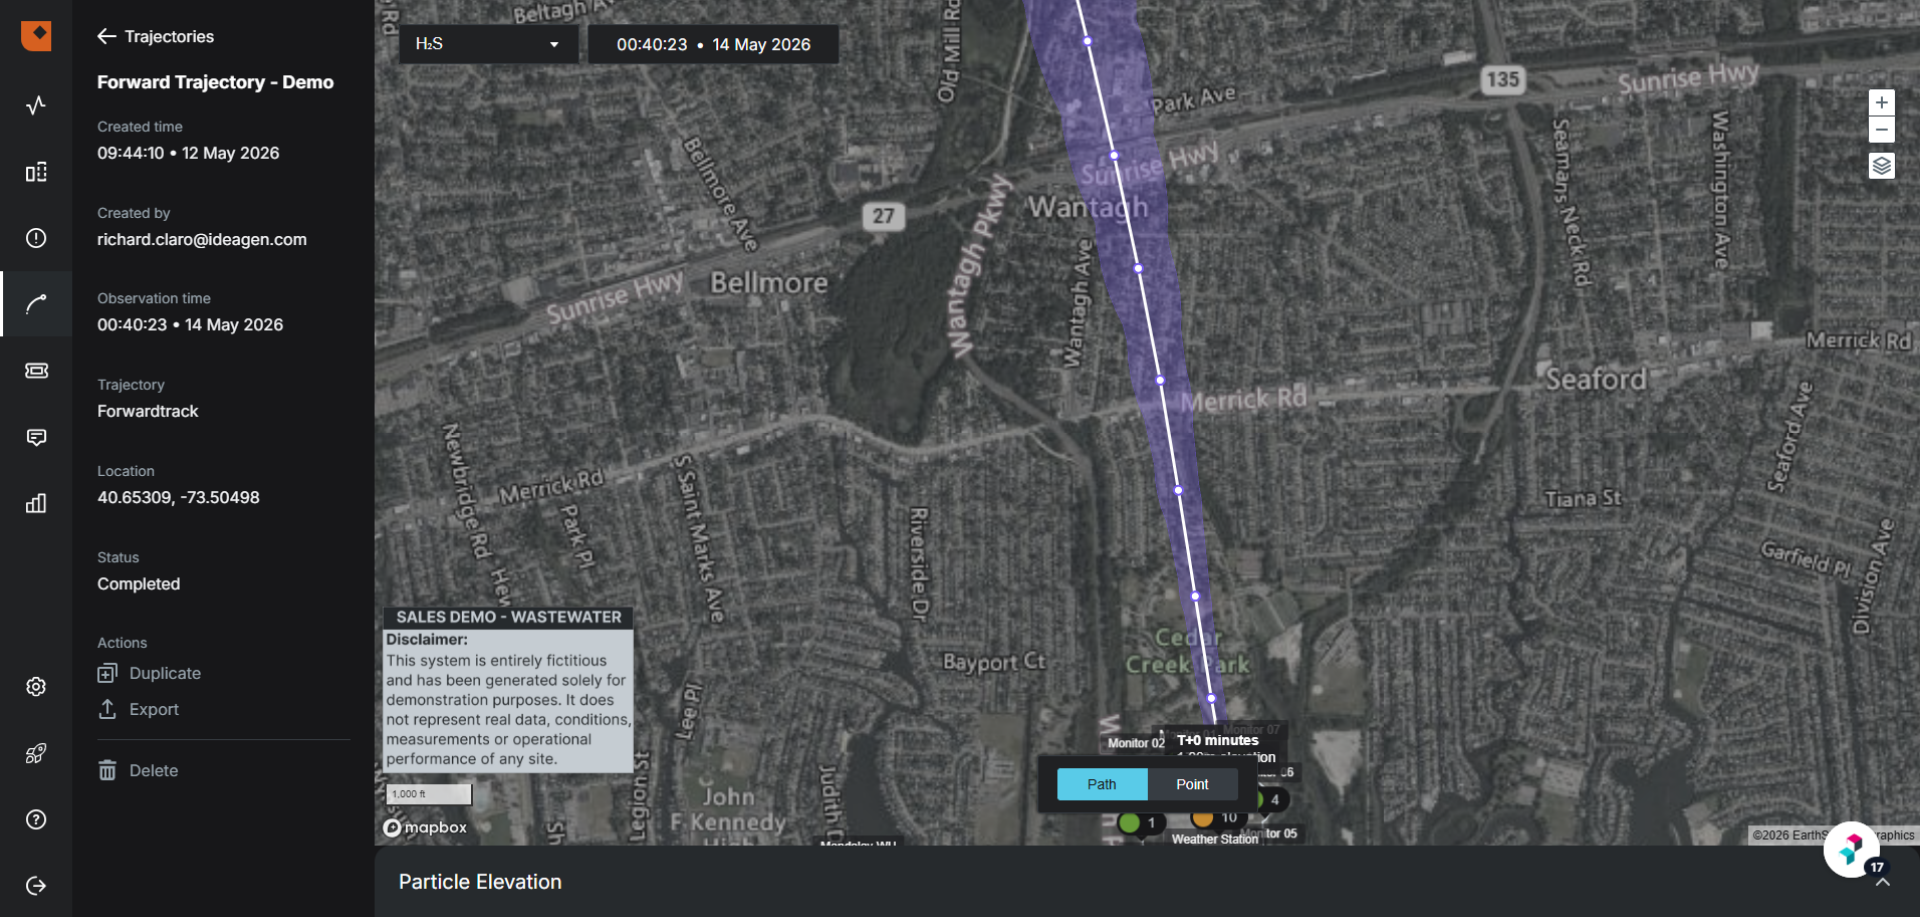
The map displays the mean path of the trajectory as a purple line with dots at 1-minute intervals; wider gaps show stronger winds. The shaded area indicates the margin of error. Curves in the path show wind direction changes, which are rare in future trajectories as they rely on forecasts, not recorded data.