New article
Recently updated
Viewing your historical data

Who is this article for?
Users who want to review historical data.
This tutorial guides you through configuring time settings within the calendar and the timeline features.
You will learn how to adjust the time format and review your historical data.
Configuring time settings and reviewing historical data
Log into the system.
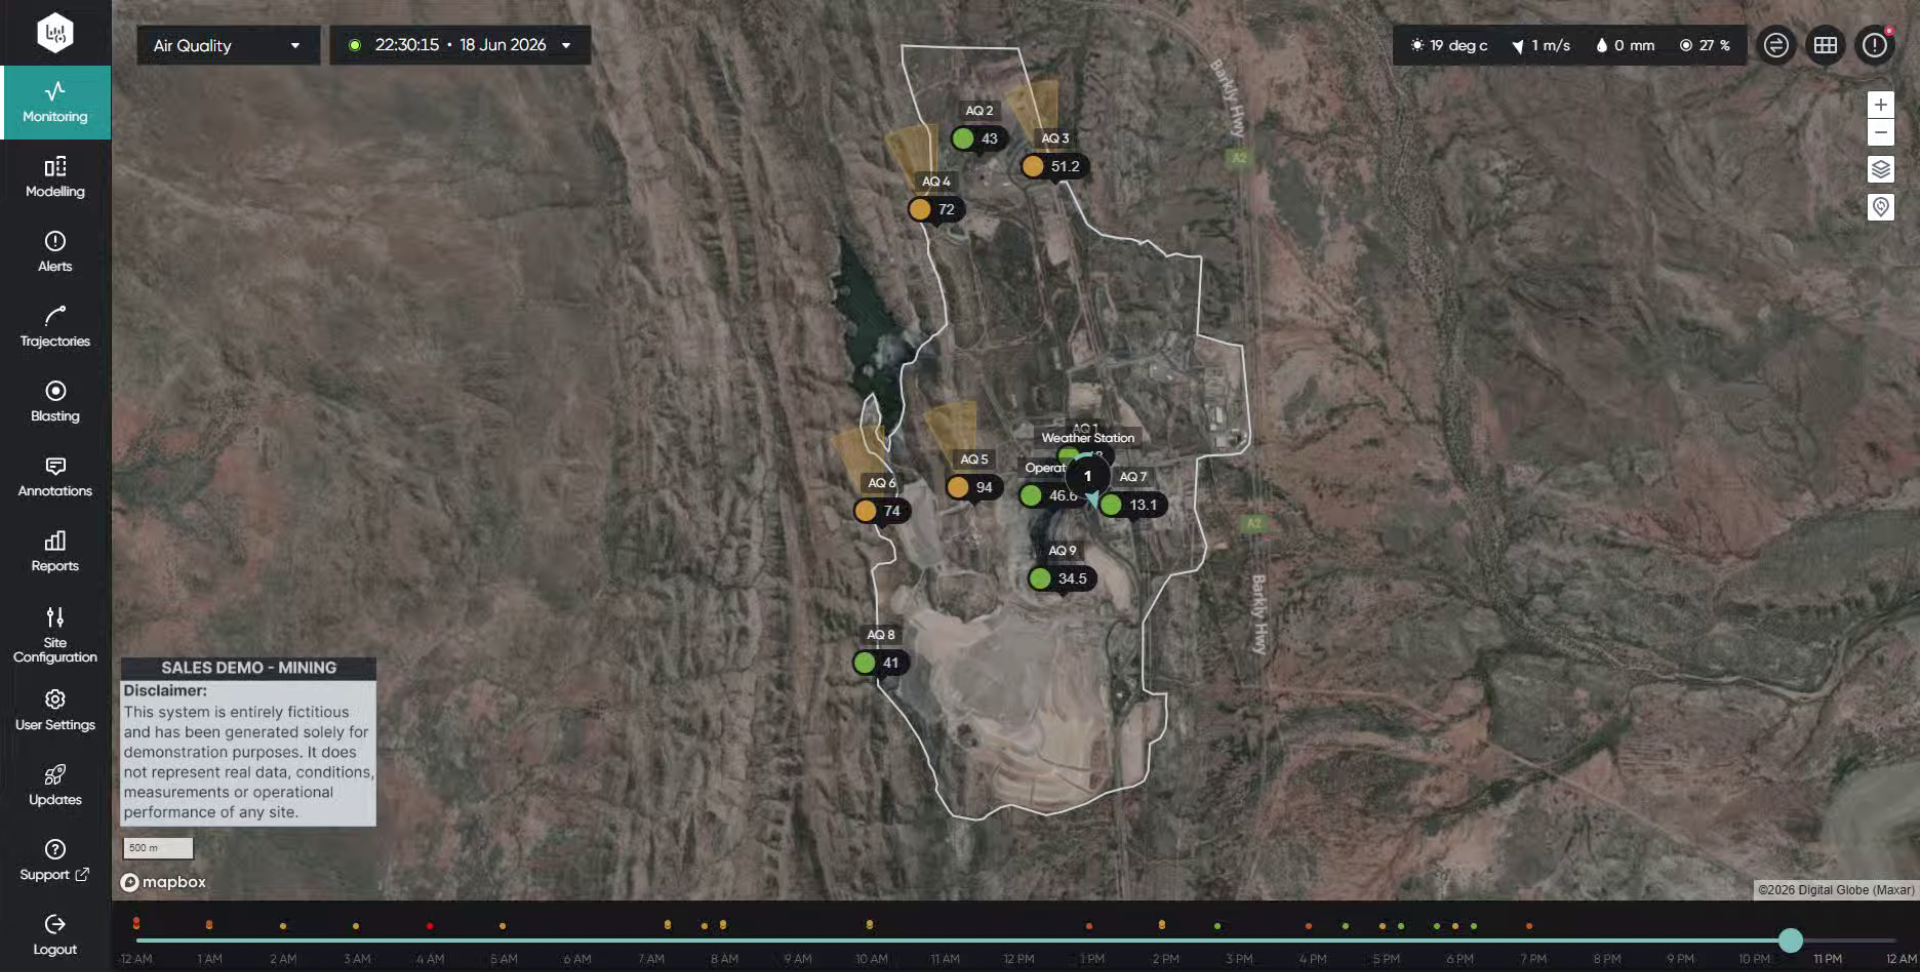
Modify the month, year, day, hour, minute, and AM or PM using the dropdown list.
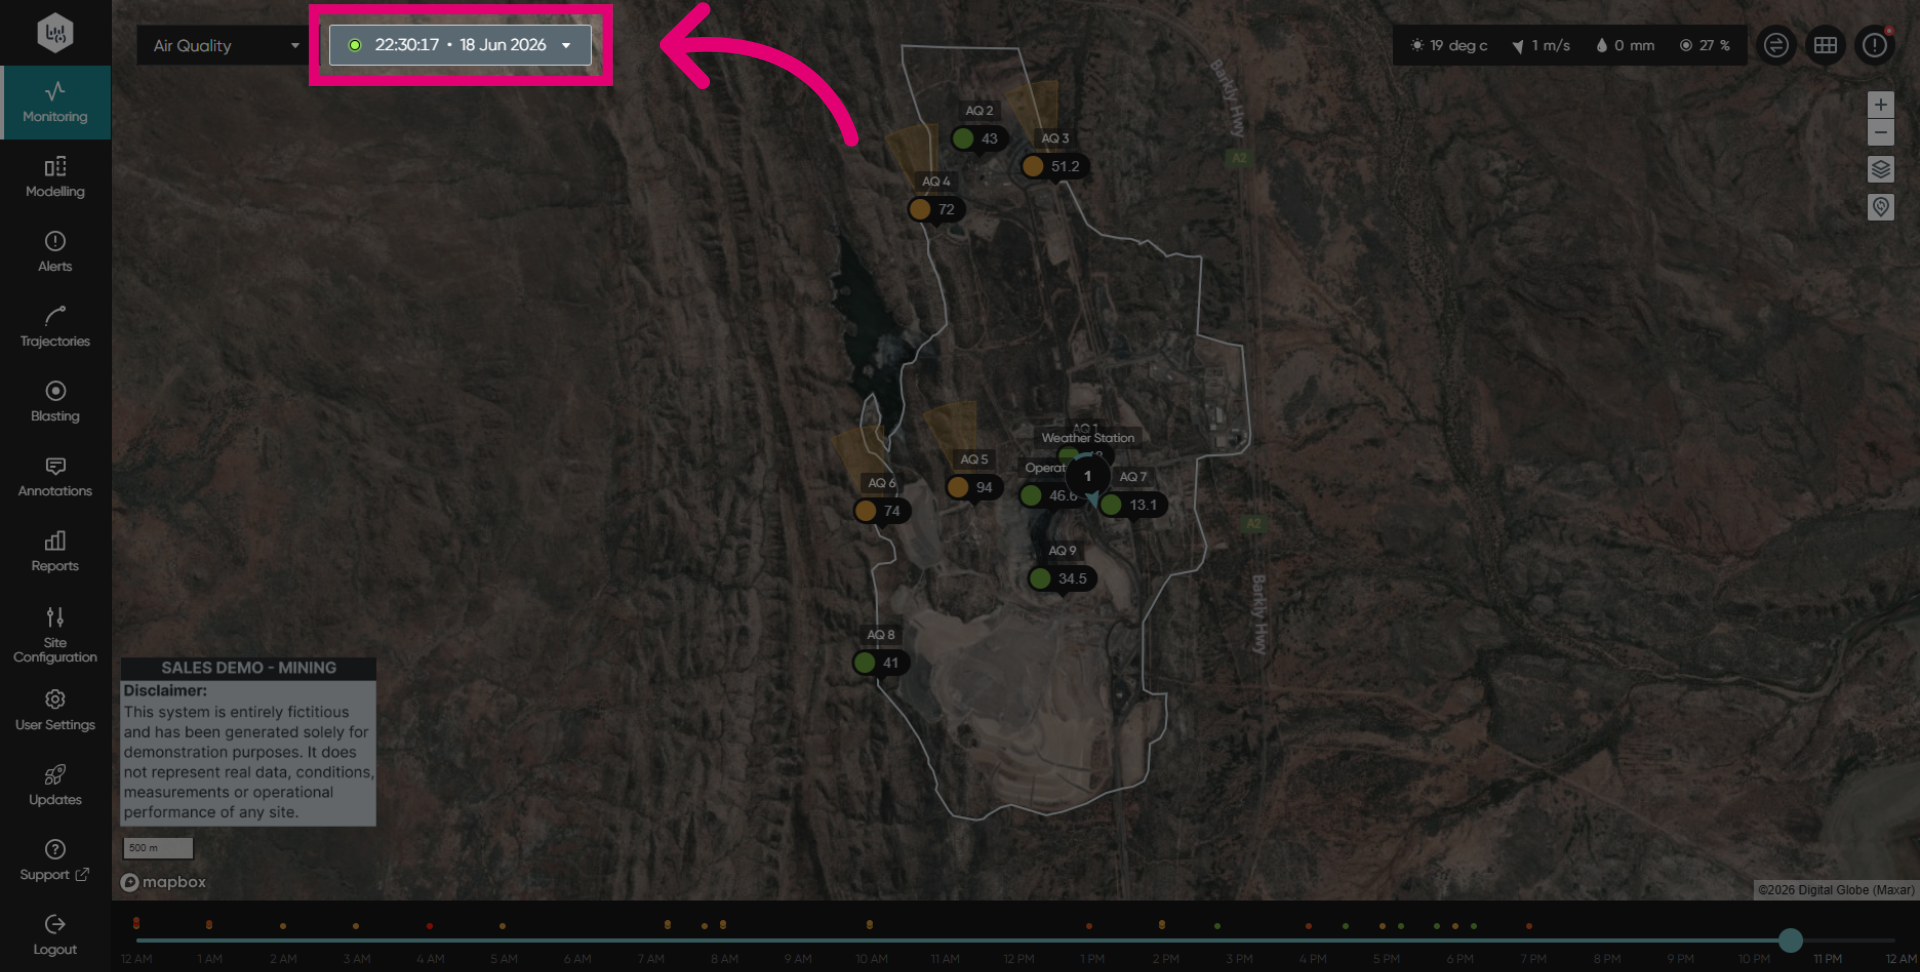
Select the day of the month from the calendar.
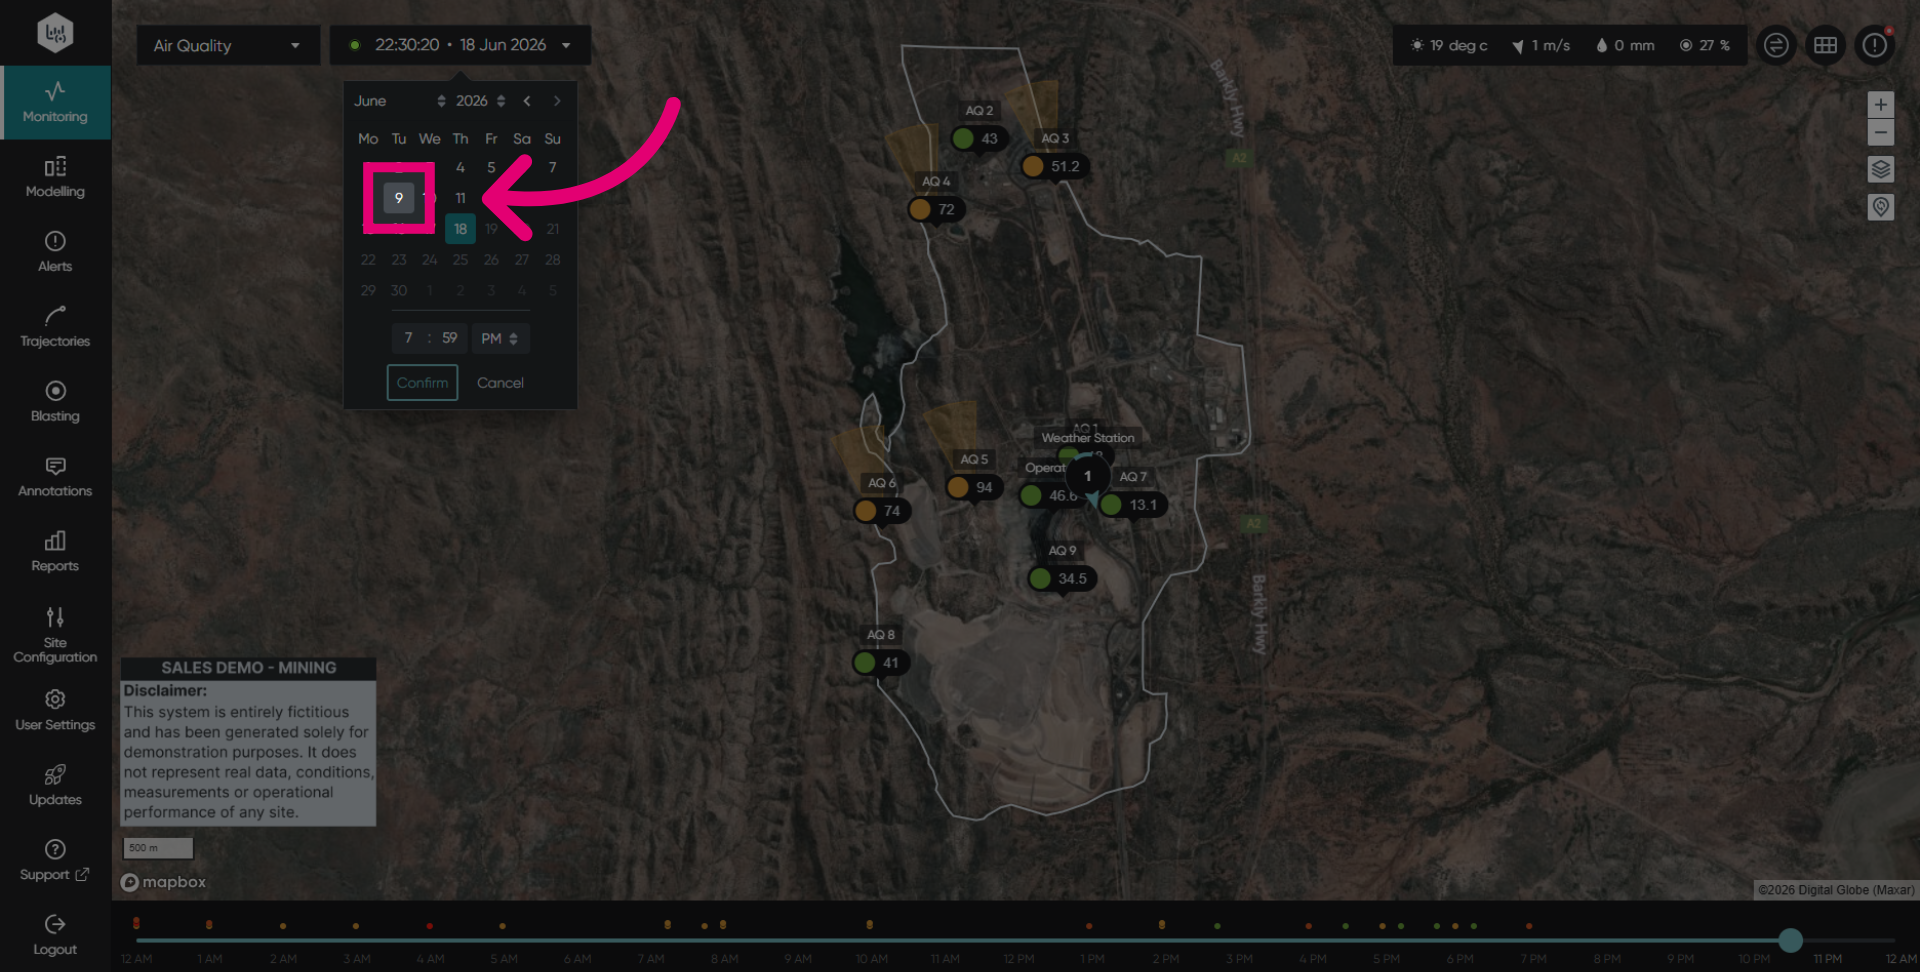
Select the hour of the day from the time picker.
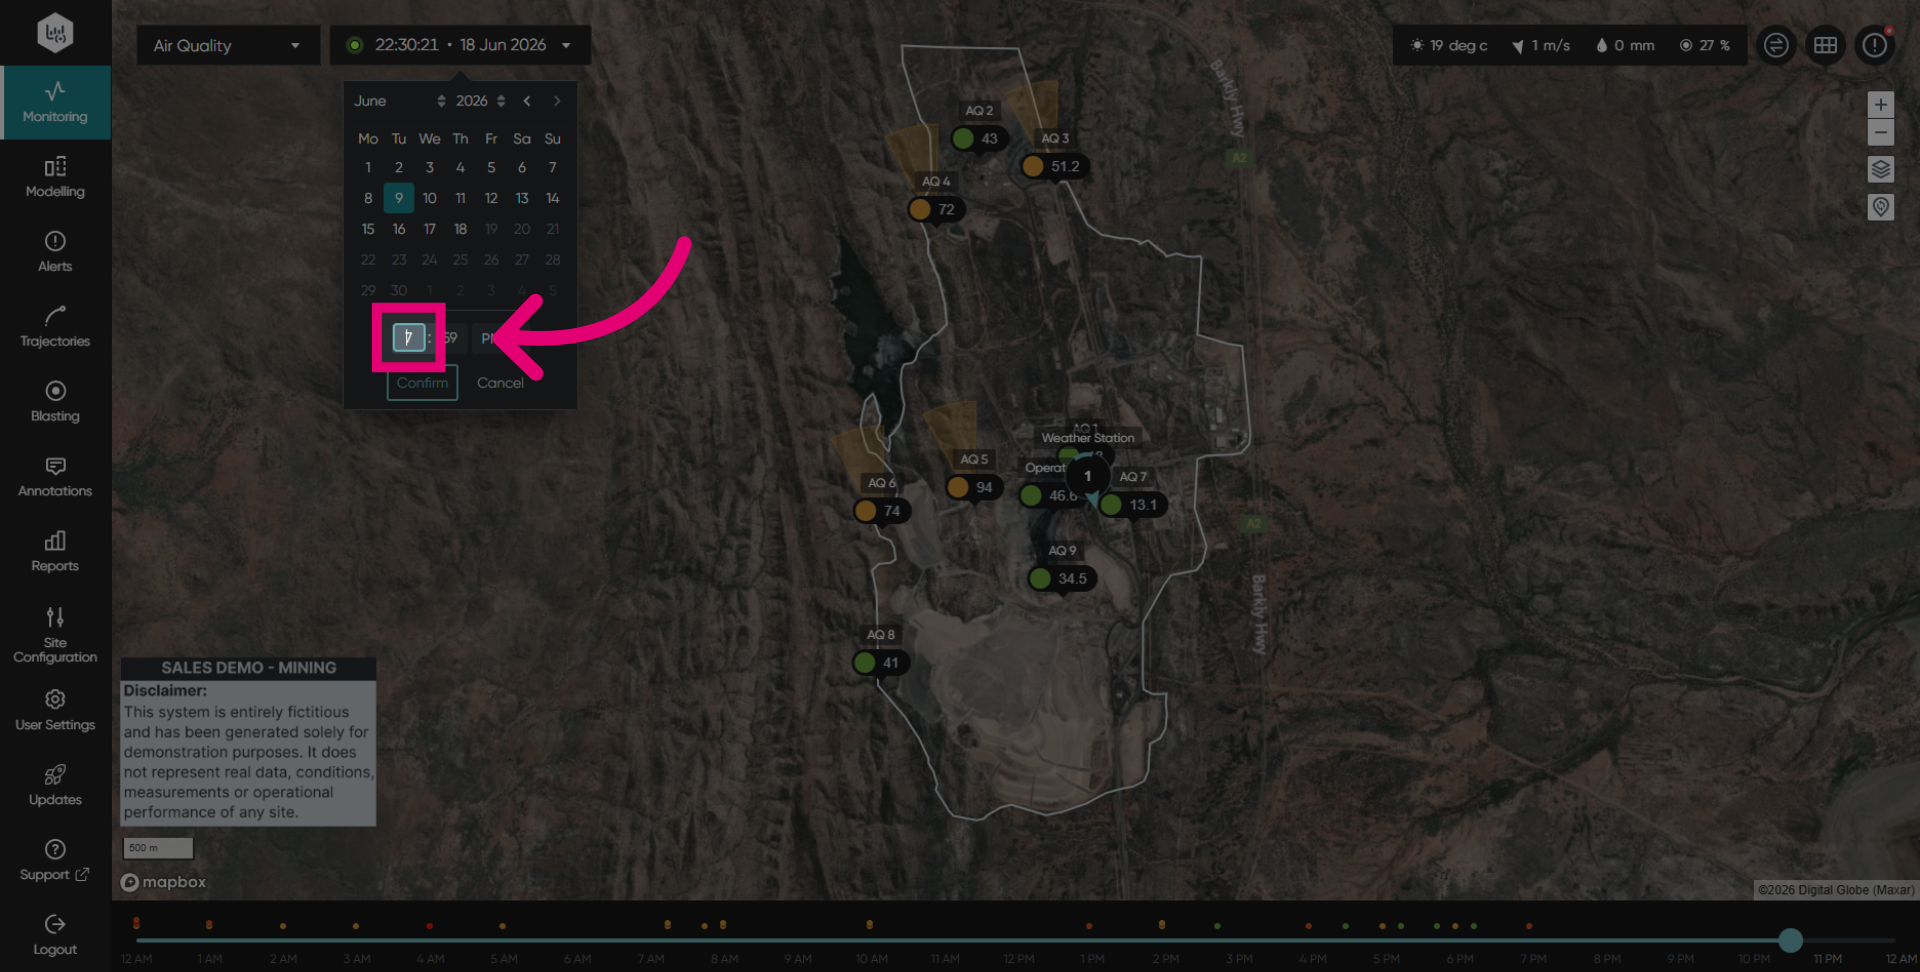
Enter the desired digit in the hour input field.
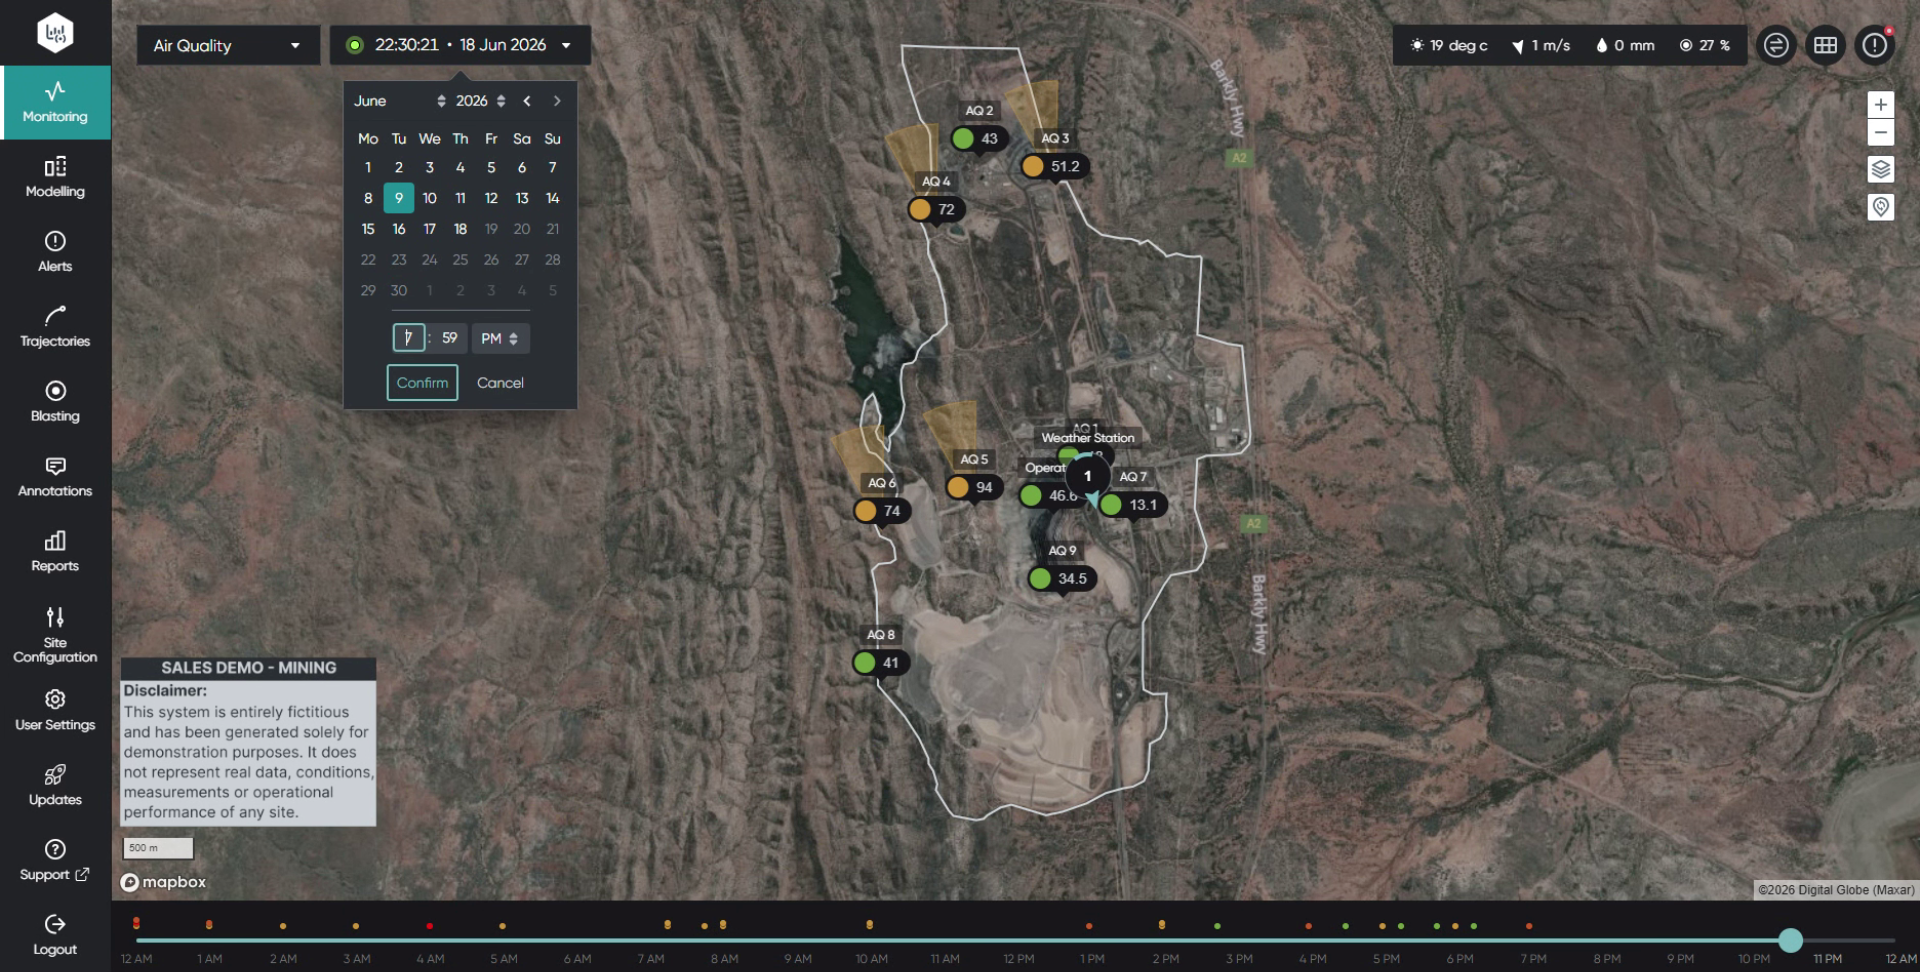
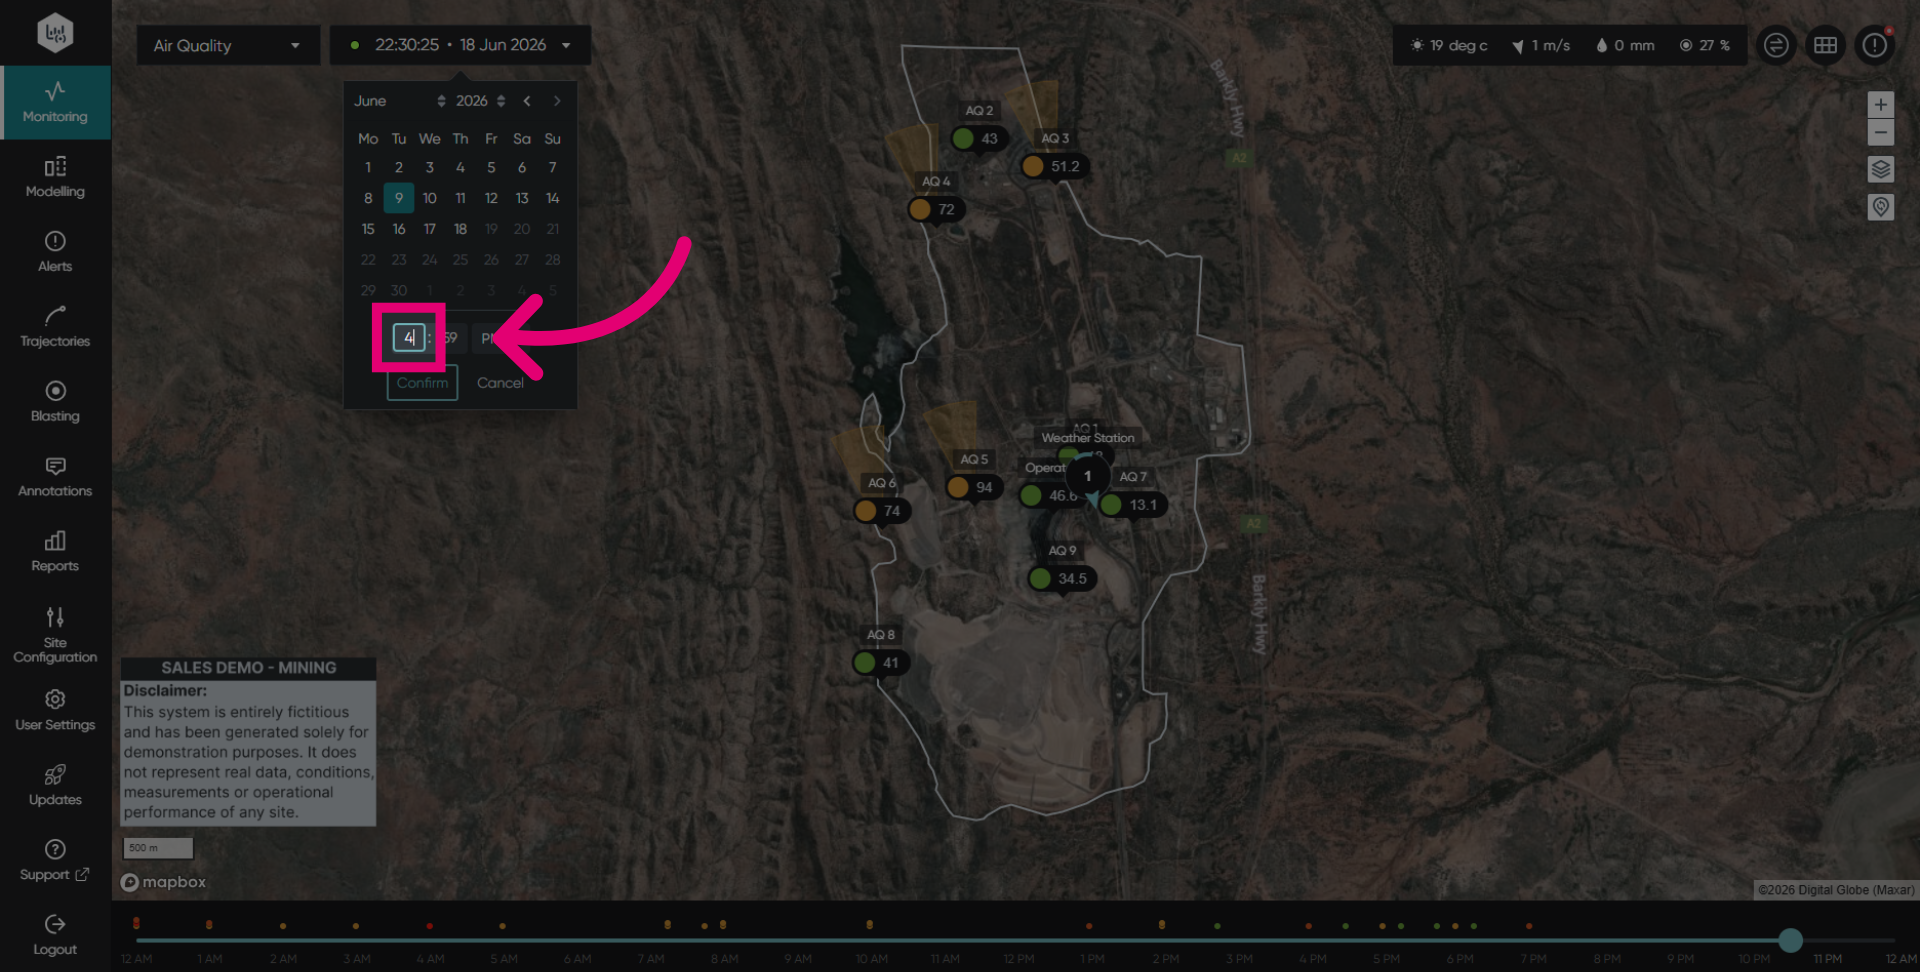
Enter the hour digit in the input field.
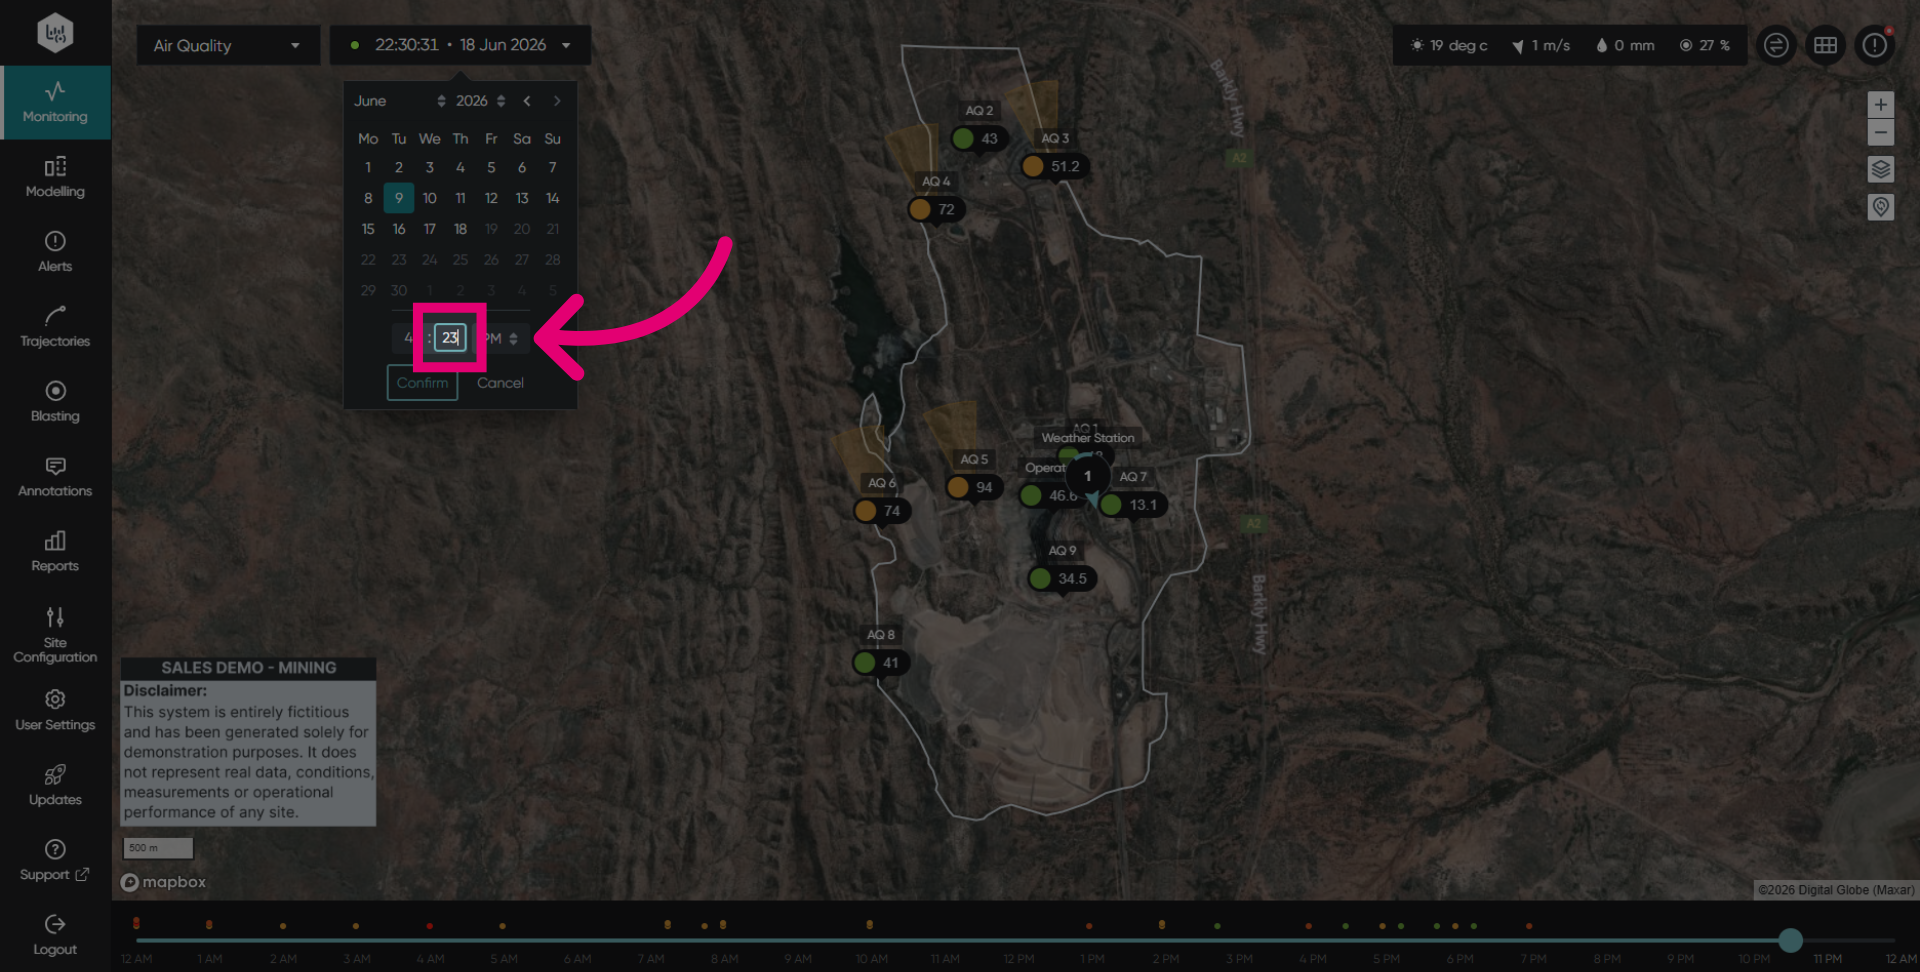
Enter the minute digit in the minutes input box.
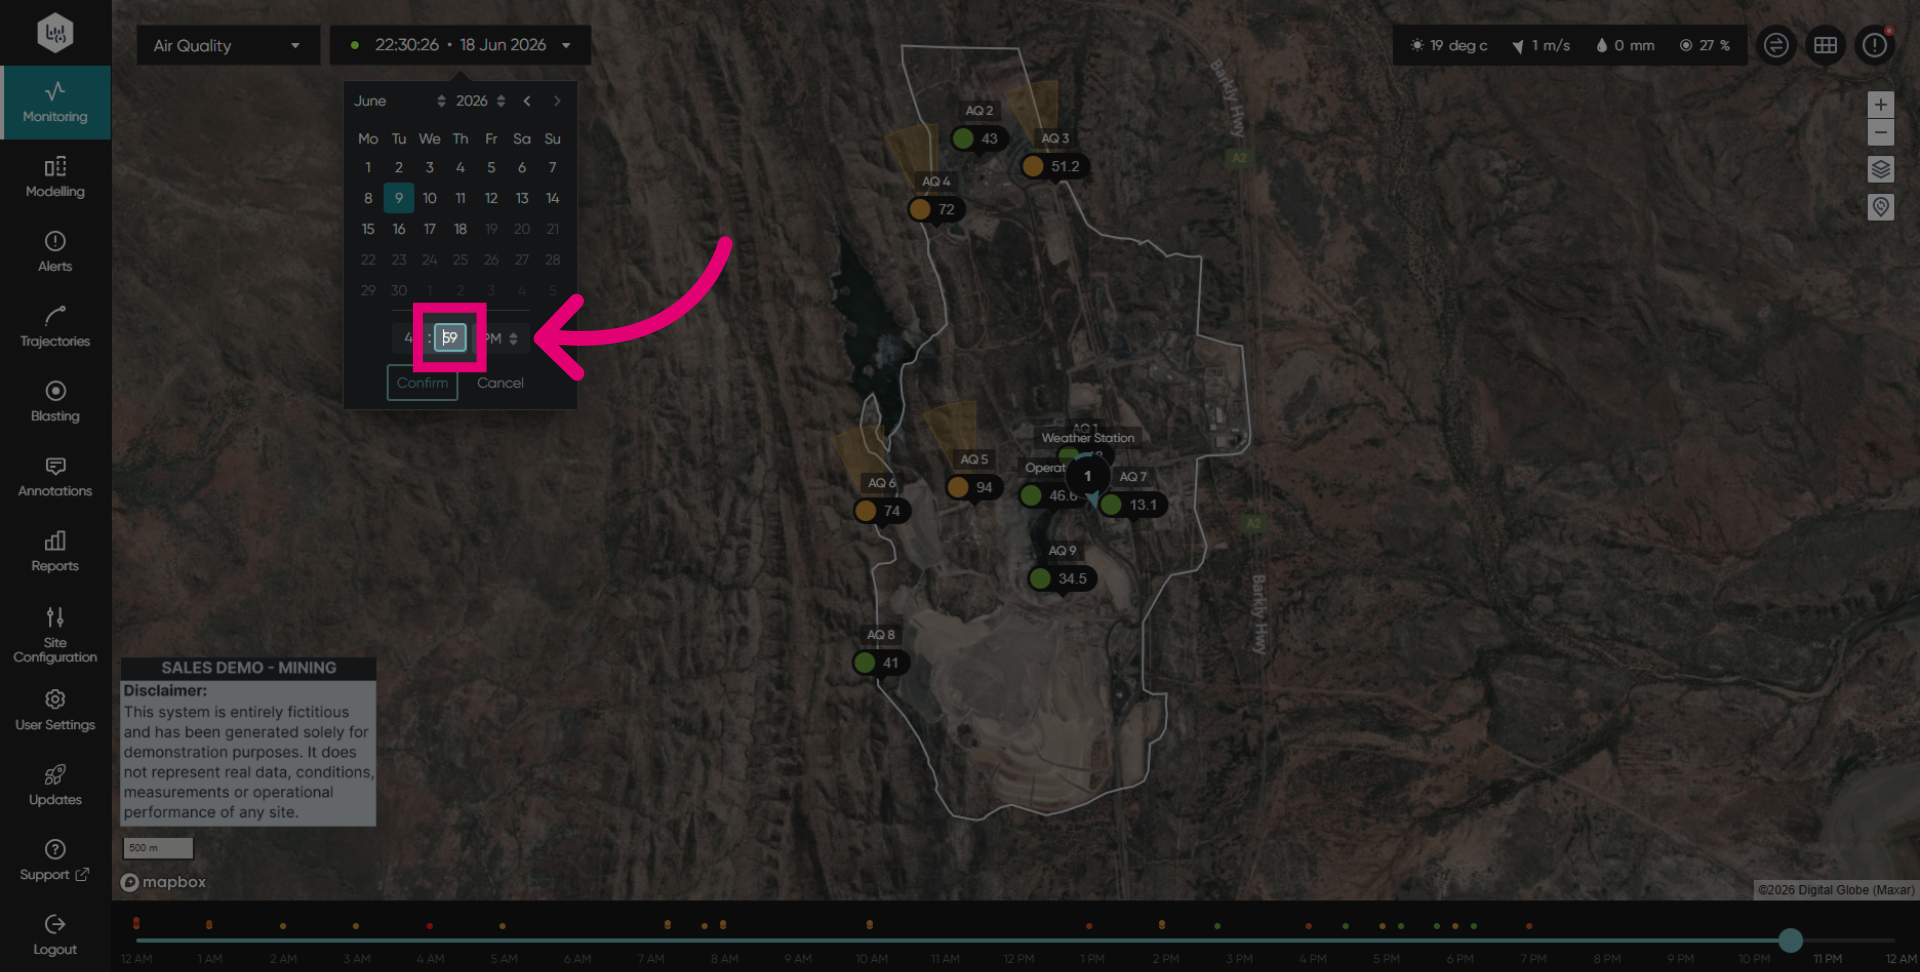
Enter the minute digit for complaint investigations. The more accurate we are, the better our understanding of the weather conditions will be at the exact time.
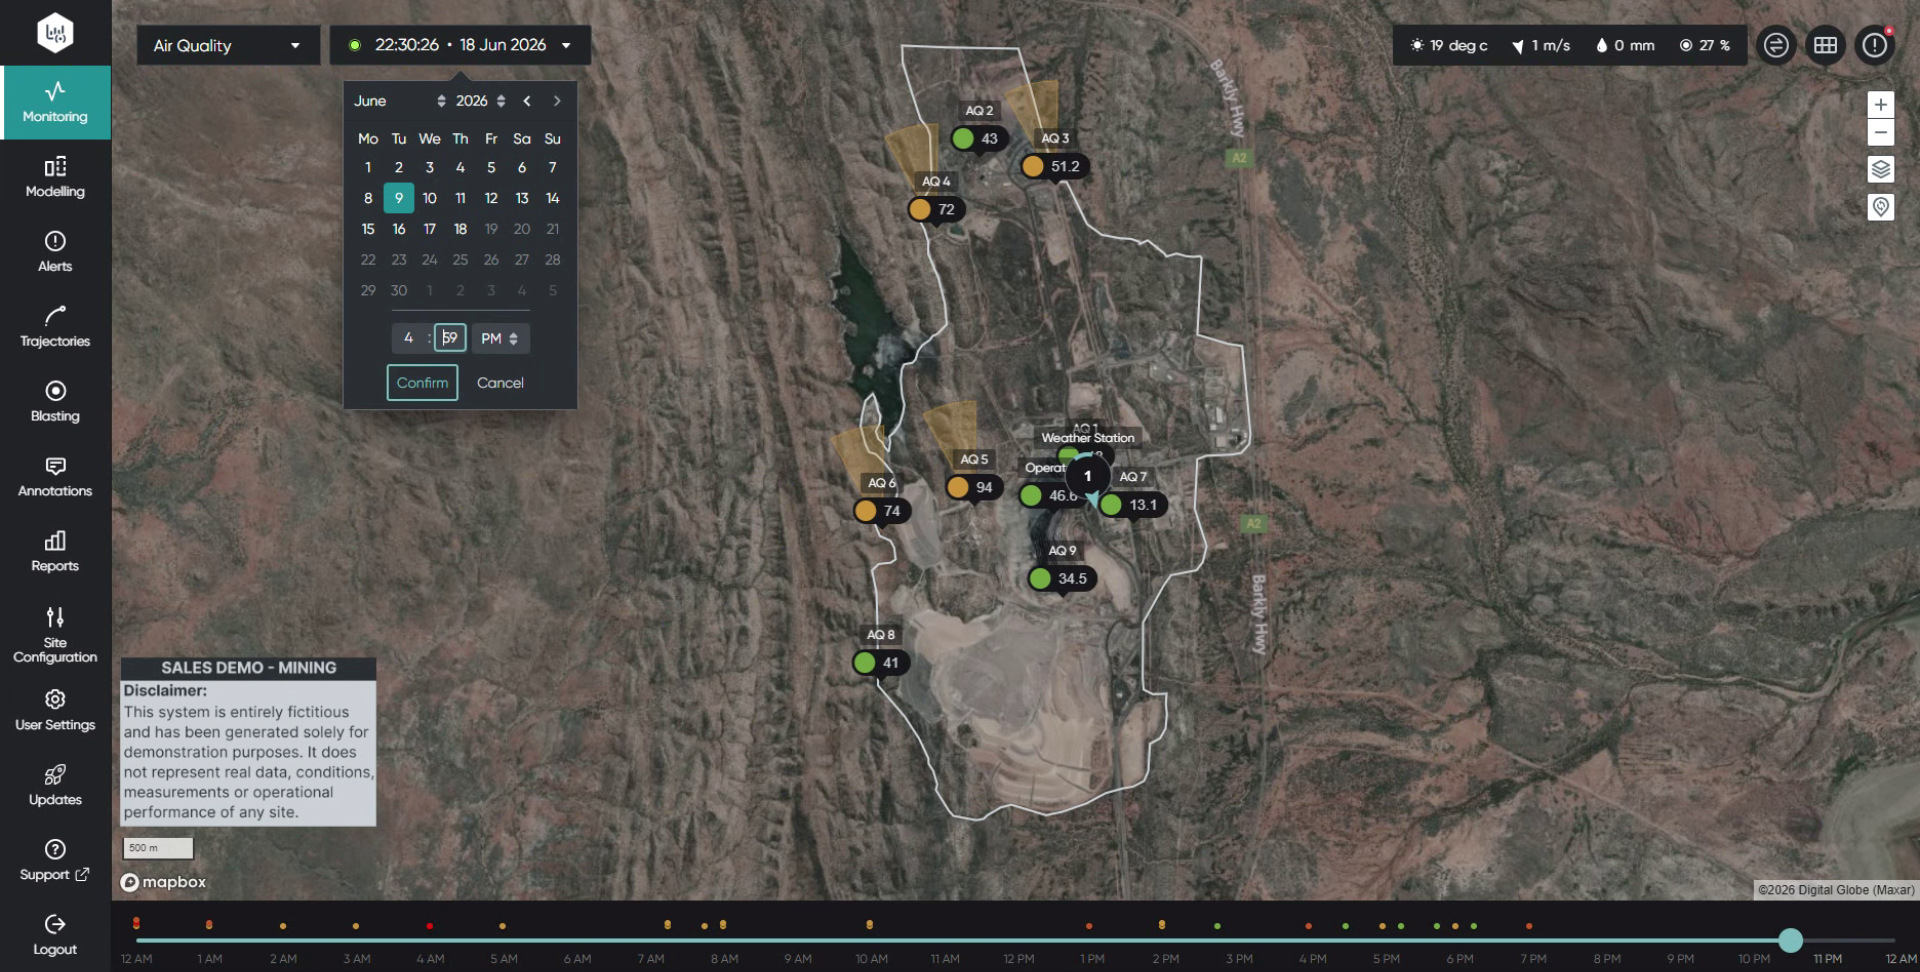
Type the minute number in the input field.
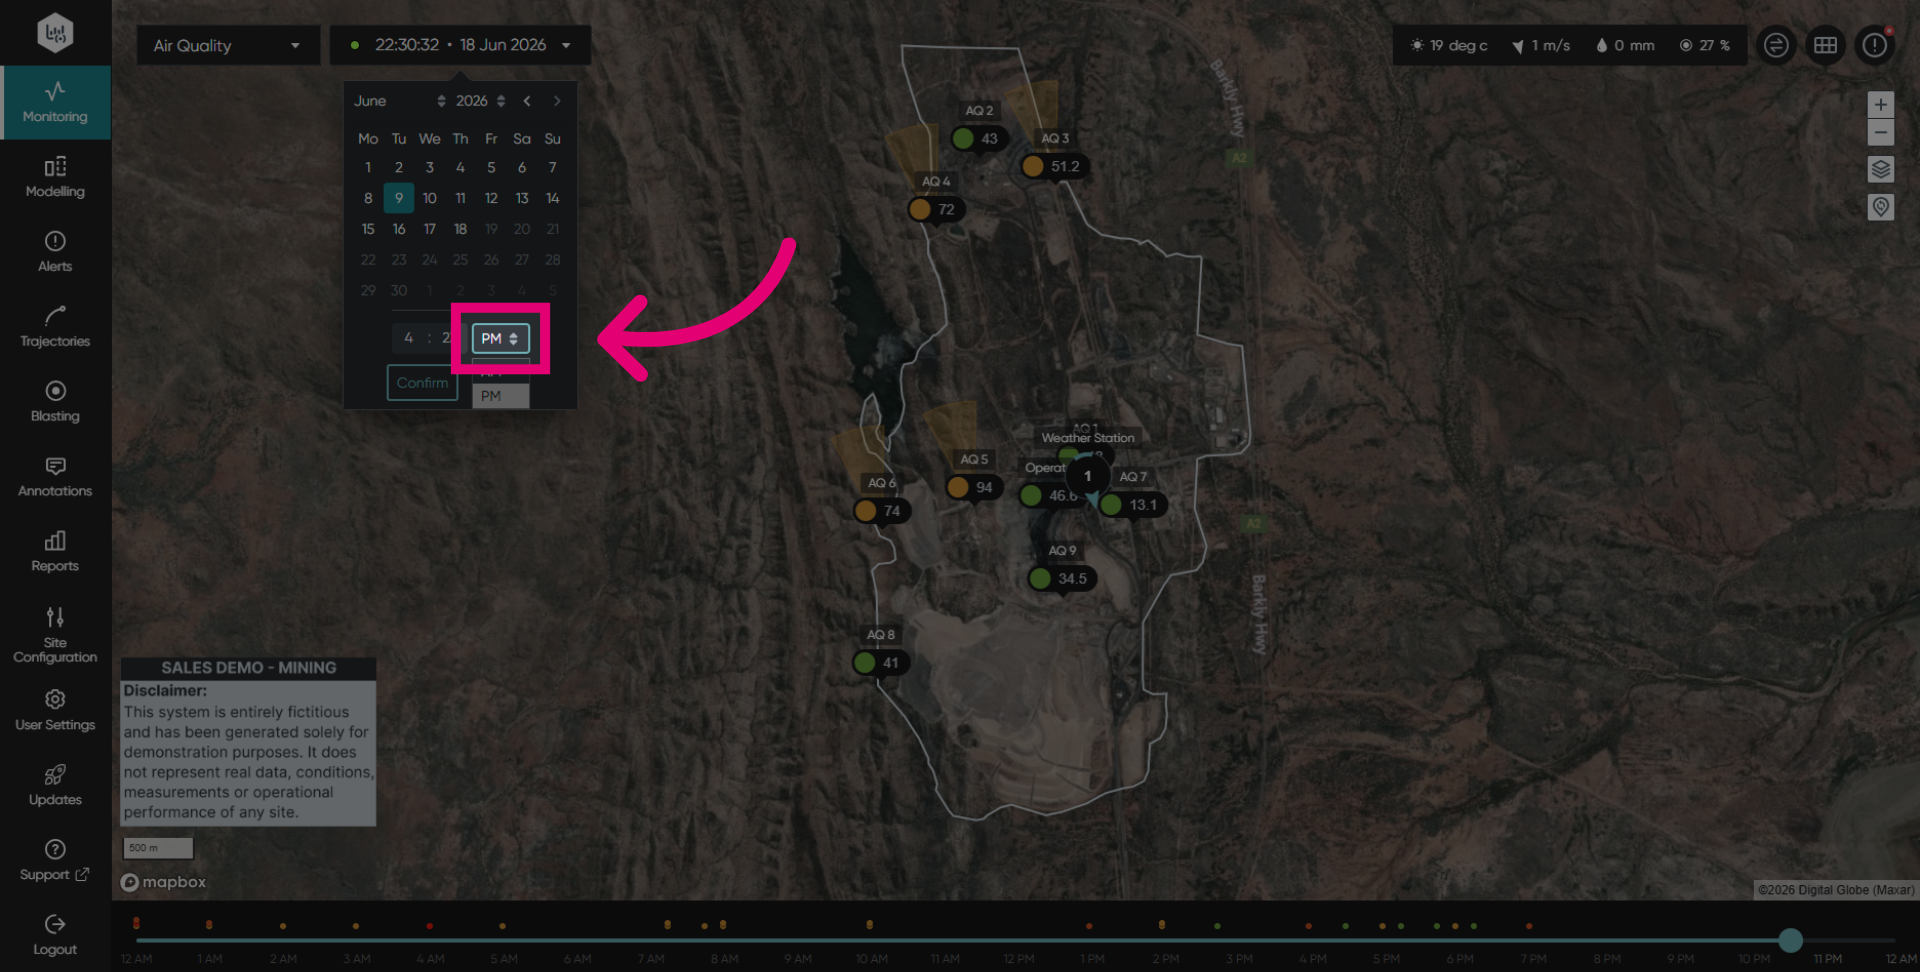
Select from AM or PM in the time selector box.
Select and confirm the AM or PM changes.
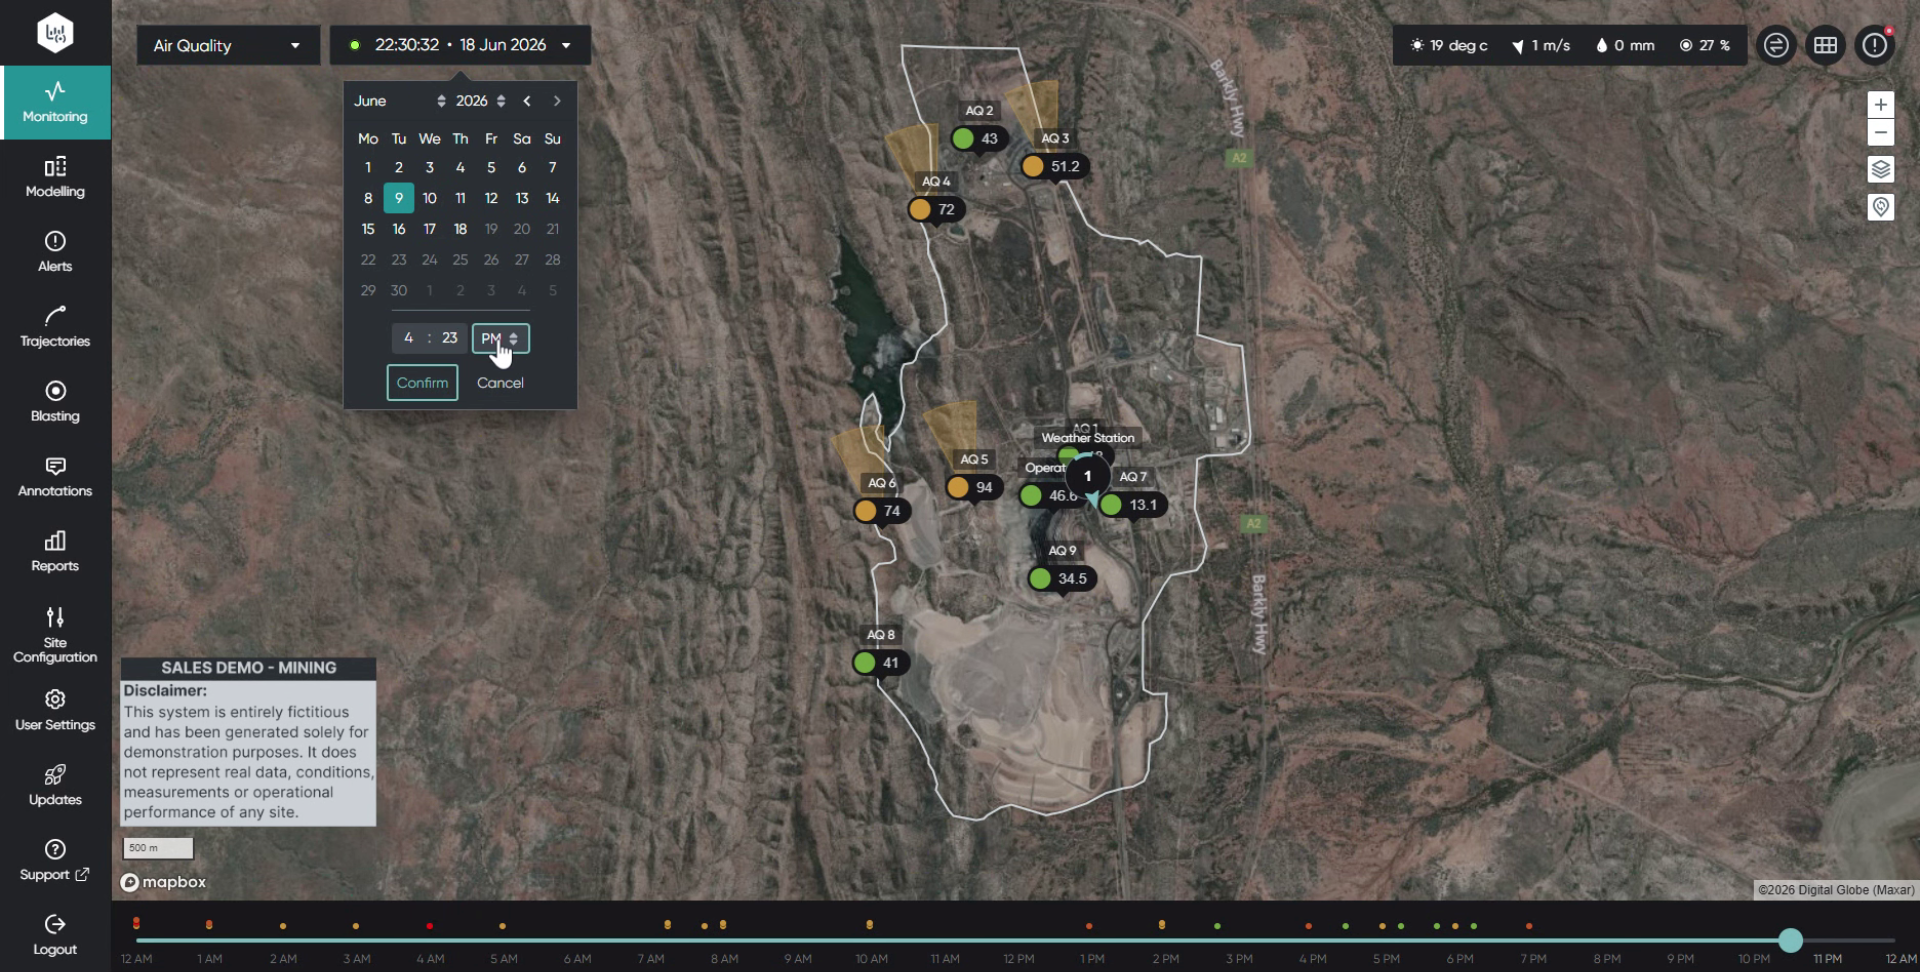
Click Confirm to save and apply your time configuration.
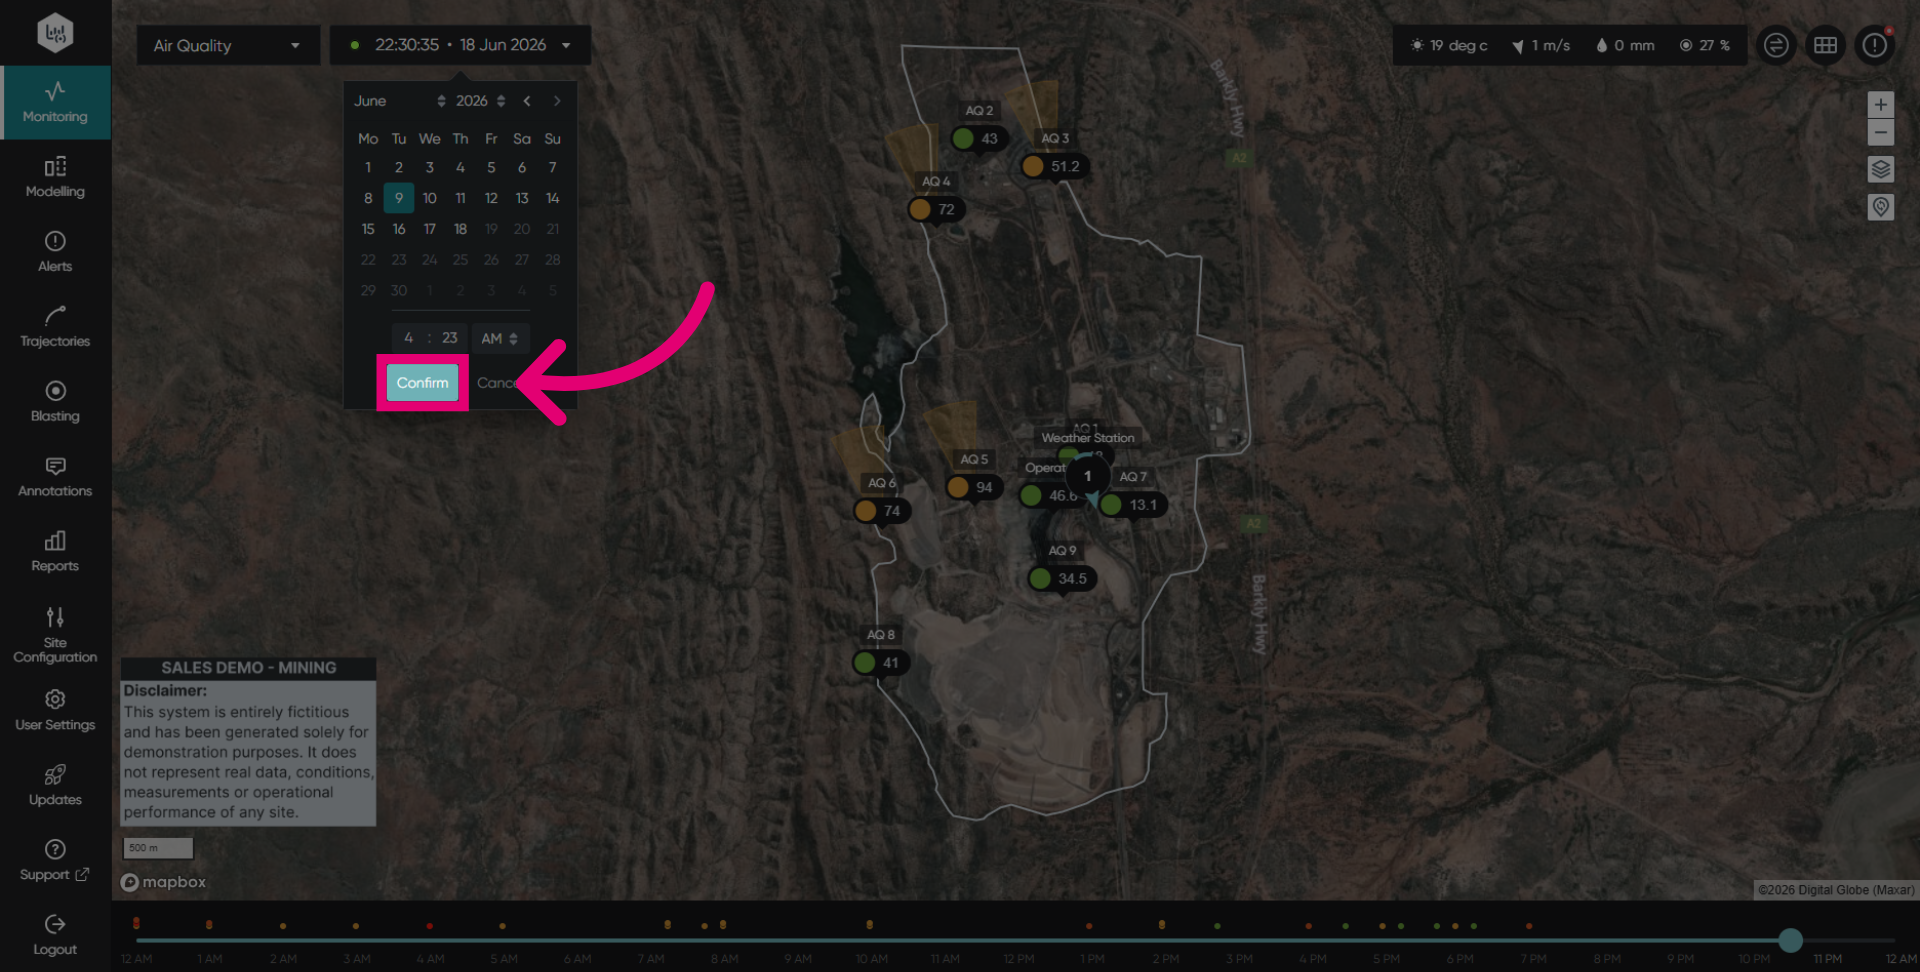
Drag the timeline left and right to see changes in your monitors over time.
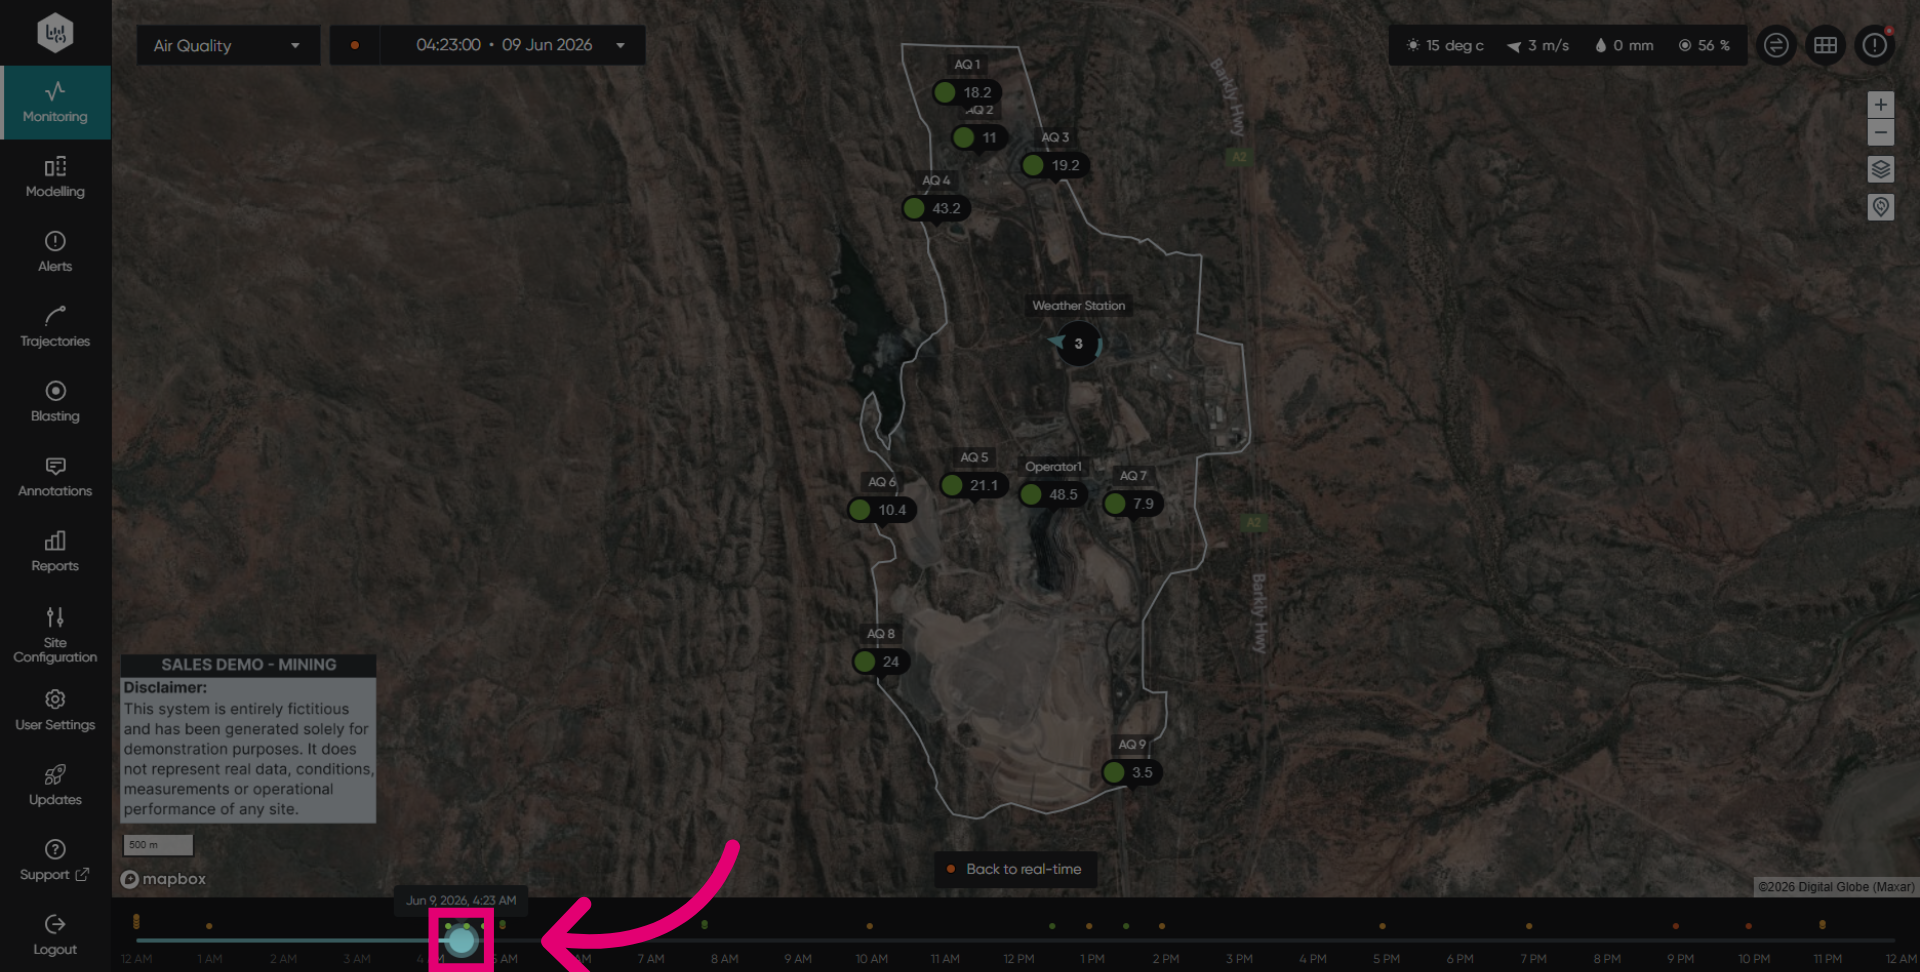
Drag the blue dot to advance or go back to the exact time.
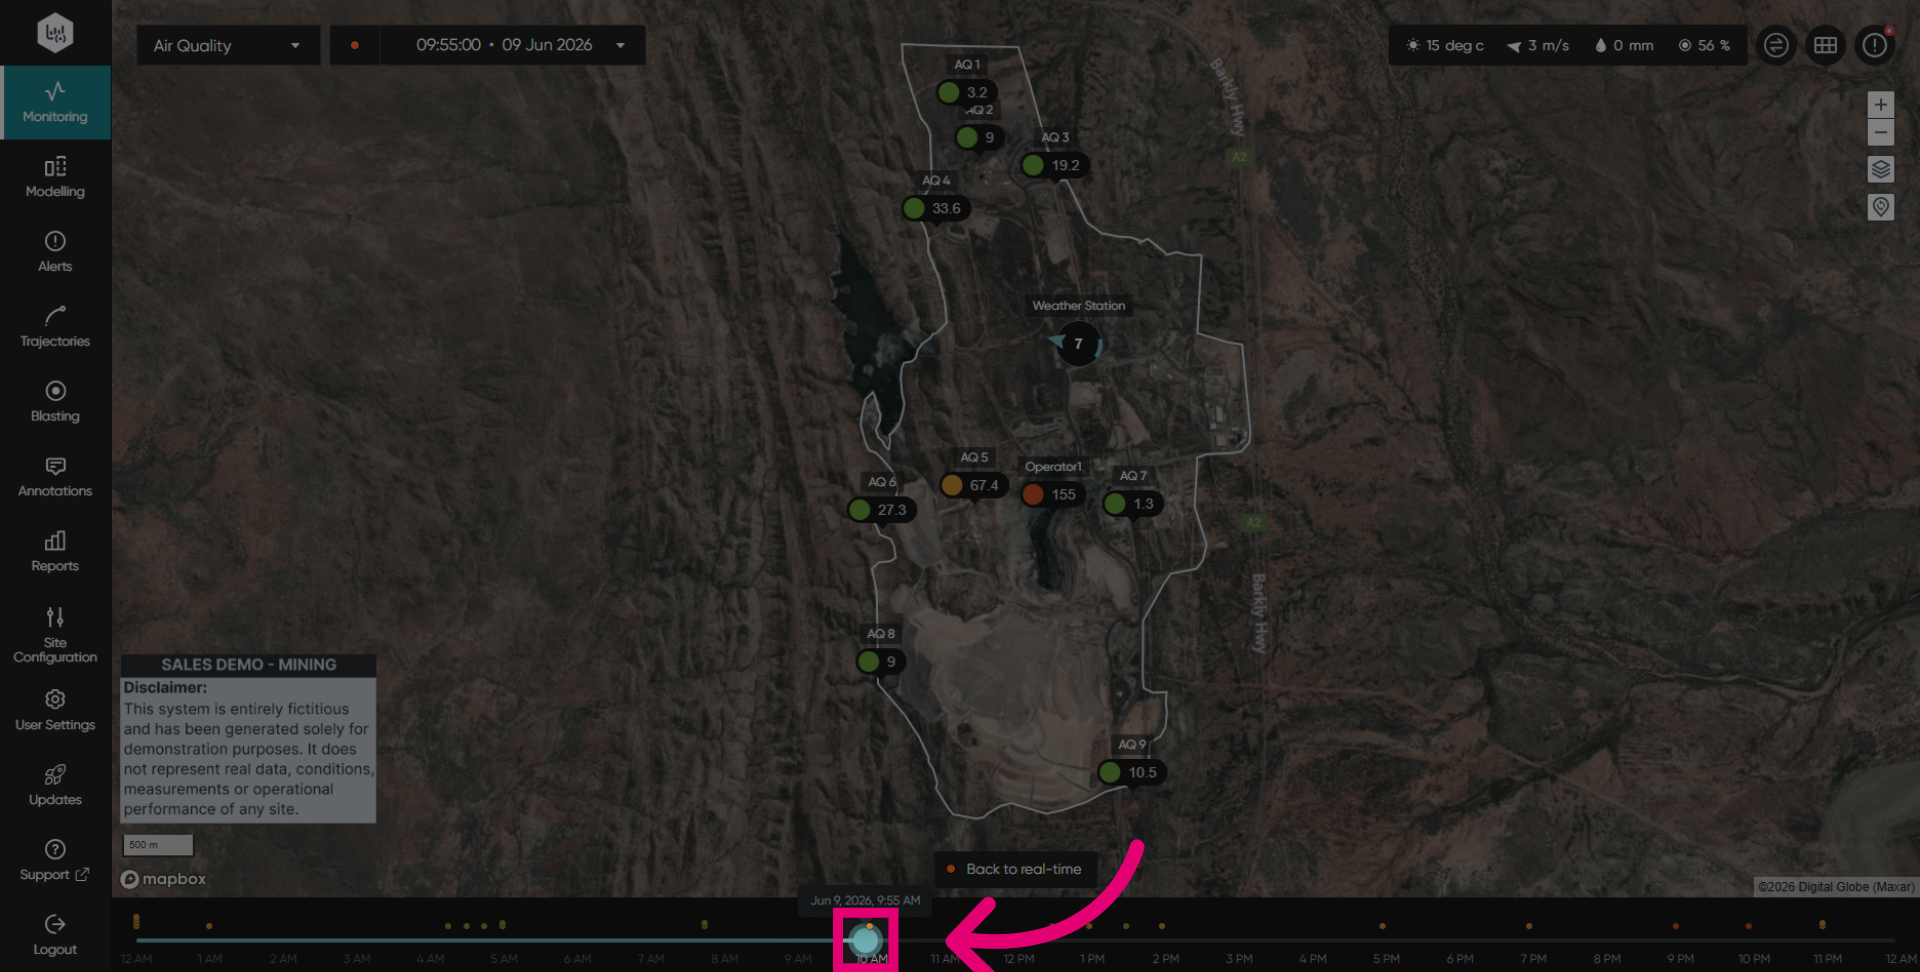
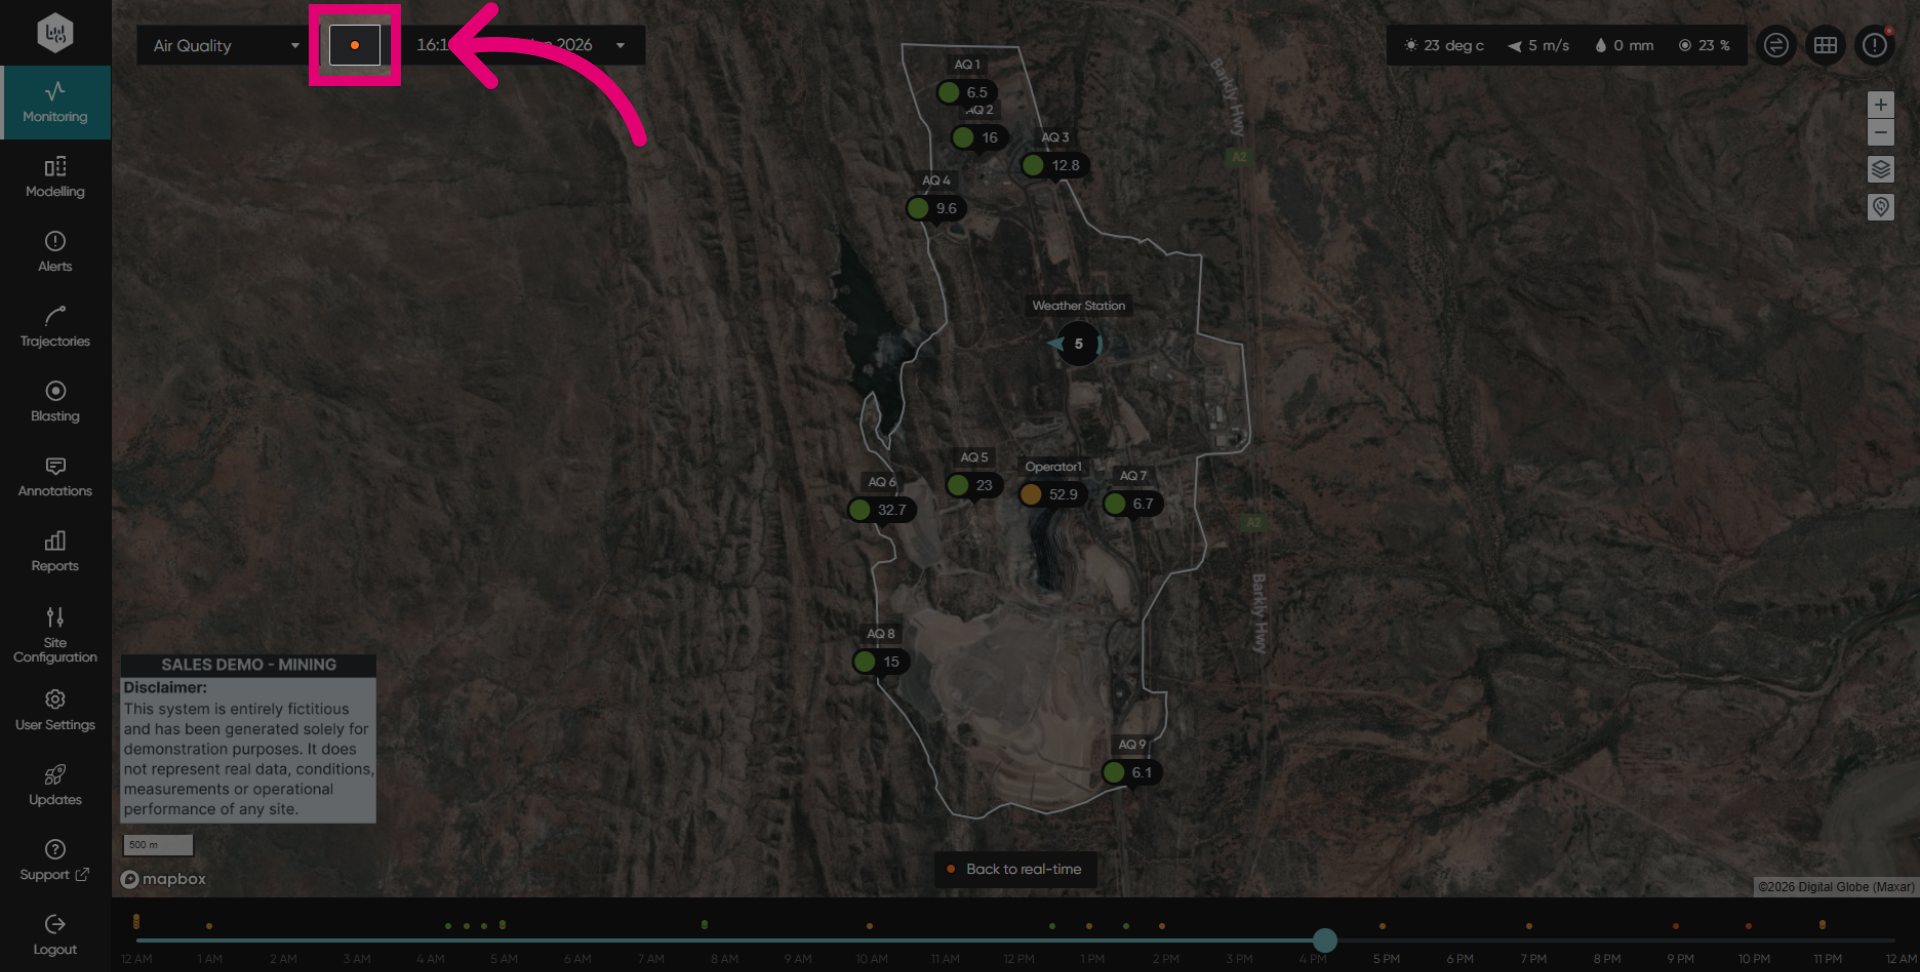
Click the orange button to easily return to real-time (flashing green).